---
title: "Walkthrough: Setting up a value provider for prefilling forms"
slug: "walkthrough--setting-up-a-value-provider-for-prefilling-forms"
abstract: "Example of how to set up a value provider to prepopulate the name and email fields."
---
# Walkthrough: Setting up a value provider for prefilling forms
Prepopulated field values in forms save your users time and improve consistency. This walkthrough is part three of the [prefilling forms walkthrough series](https://doc.sitecore.com/xp/en/developers/102/sitecore-experience-manager/prefilling-forms-walkthrough-series.html "Prefilling forms walkthrough series") and describes how to implement a value provider that prefills name and email fields.
This walkthrough describes how to:
- Create the provider class
- Create the provider item
- Create the form
- Add the redirection link
- Check the prefilled form result
Create the provider class
When you create a value provider, you must create a class that inherits from the `IFieldValueProvider` interface.
To create the provider class:
1. In your Visual Studio project, create a folder and name it `ValueProviders`.
2. In the `ValueProviders` folder, create the `UserProfileFieldValueProvider` class and inherit from the `IFieldValueProvider` class.
3. Implement the `GetValue` method to return an object of any type. This object would be cast in the `InputViewModel` implementation to the appropriate type.
The parameters for the `UserProfileFieldValueProvider` class are stored as plain strings. For example: *email*, *fullname*, or any other user profile property key you would like to use.
You could store any other data for the parameters, for example, as JSON or XML, and parse that data in your value provider implementation.
```csharp
public class UserProfileFieldValueProvider : IFieldValueProvider
{
public User User => Context.User;
public FieldValueProviderContext ValueProviderContext { get; set; }
public object GetValue(string parameters)
{
if (User == null || !User.IsAuthenticated)
{
return string.Empty;
}
switch (parameters)
{
case "name":
case "username":
return User.Name;
case "email":
return User.Profile.Email;
case "fullname":
return User.Profile.FullName;
default:
return User.Profile[parameters] ?? string.Empty;
}
}
}
```
Create the provider item
To create the provider item:
1. Go to */sitecore/system/Settings/Forms*, right-click **Value Providers**, click **Insert**, and click **Insert from Template**.
2. Click the */sitecore/templates/System/Forms/Value Provider* template.
3. In the **Item Name** field, enter a name and click **Insert**.
4. Go to the item you just created, and in the **Settings** section, in the **Model Type** field, set the value to the class type name. For example, `ValueProviderSample.FieldValueProviders.UserProfileFieldValueProvider`.
5. Save the item.
Create the form
To create a form:
1. On the Forms dashboard, click **Create** and click **Blank form**.
2. In the **Form elements** pane, drag the **Email** element to the page. In the **Label** field enter *Email*.
3. Drag the **Single-line text** element to the page. In the **Label** field, enter *Fullname*.
4. Click the **Email** field, and in the **Form elements** pane, in the **Advanced settings** section, in the **Value provider** field, select the provider you created earlier.
5. In the **Value provider parameters** field, enter *fullname*.
6. Click the **Email** field, and in the **Form elements** pane, in the **Advanced settings** section, in the **Value provider** field, select the provider you created earlier.
7. In the **Value provider parameters** field, enter *email*.
8. Save the form and name it *User Profile Form*.
9. Add the User Profile Form to a web page and name it *User Profile Page*.
10. Add the Logout form that you created in the previous walkthrough to this User Profile Page.
Add the redirection link
To add the redirection link:
1. Add a Redirect to Page submit action to the Login Form. Click **User Profile web page** as the redirect to page.
2. In the Register Form, redirect the page to the Login Web Page after the registration is successful.
3. In the Logout Form, redirect to the Login Web Page when the logout is successful.
Check the prefilled form result
To check the prefilled form results:
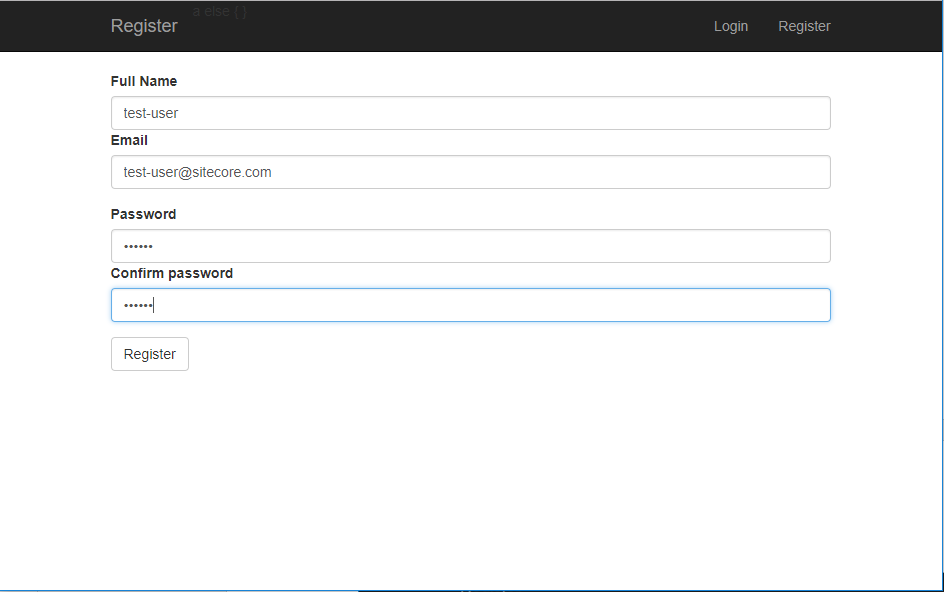
1. In the **Register** dialog box, register a user. Then, in the Login Page, log in using the email address and password of the user.
2. After login success, the User Profile page displays the full name and email address of this user. To logout from the User Profile page, click **Logout**. If there is no user logged in, the User Profile page is left blank.