---
title: "Restructure the Toolbox"
slug: "restructure-the-toolbox"
abstract: "Change the organization of components in the toolbox."
---
# Restructure the Toolbox
To make it easier to construct your page, from the toolbox, you can drag and drop reusable renderings onto your page. The toolbox organizes all renderings in categories, such as Media, Page content, Page structure, and Navigation.
When creating a new site, you can determine which renderings will be available for that site.
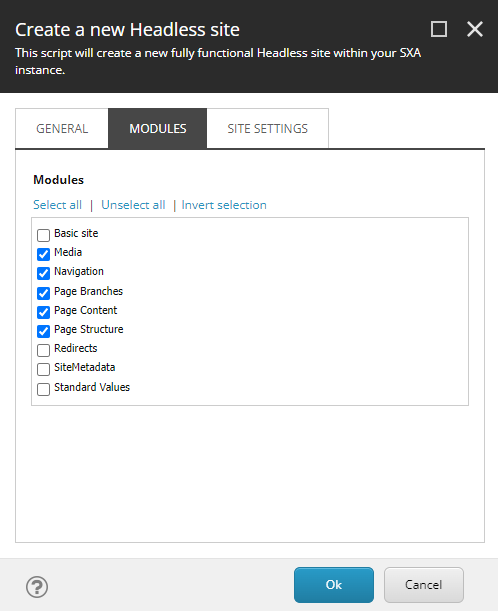
You can change the structure of the components within the toolbox. This may be convenient when you want to move a component category that you use often to the top of the list or if you want to change the order of the components within the category.
Change the order of rendering categories
To change the order of appearance of rendering categories in the Toolbox:
1. Navigate to *sitecore/Content/Tenant/Site/Presentation*, and in the **Available Renderings** item reorganize the rendering categories. For example, move the Page Content and Page Structure categories to the top of the list.
2. In the **Data** section, select the **Group renderings in sections according to Available Renderings items in the site**.
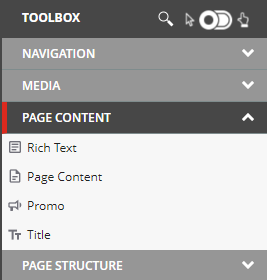
3. Save the changes. In the Experience Editor, the structure of the toolbox will be changed.
Change the order of renderings within a category
To change the order of the renderings within a category:
1. Navigate to *sitecore/Content/Tenant/Site/Presentation/Available Renderings* and click the category that you want to change the structure for.
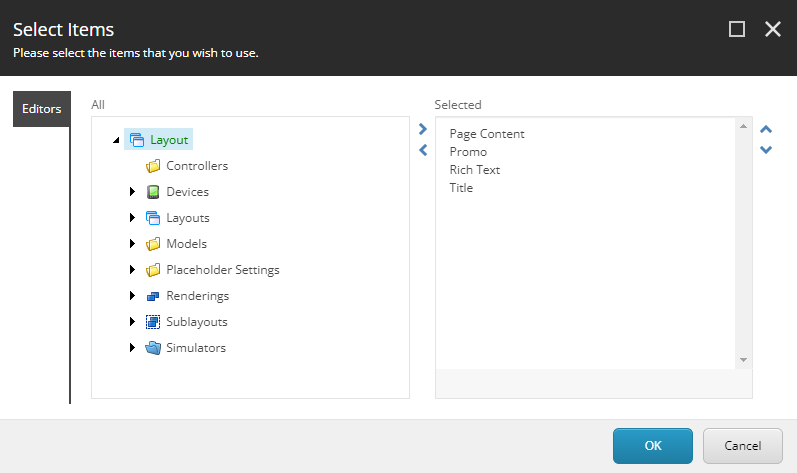
2. In the **Data** section, in the **Renderings** field click **Edit**.
:::lettered
1. In the **Select items** dialog box, in the **Selected** field change the order of the components by using the arrows. For example, for the **Page Content** category, move the **Rich Text** rendering to the top.
:::
3. Save the changes. In the Experience Editor, the structure of the toolbox will be changed.
Add a custom category
To group renderings in a custom category:
1. Navigate to *sitecore/Content/Tenant/Site/Presentation*, right-click **Available Renderings**, click **Insert**, and then click **Available Renderings**.
2. Enter a name and click **OK**.
3. In the **Data** section, in the **Renderings** field click **Edit**.
4. In the **Select items** dialog box, navigate to **Layout**, **Renderings** and select the components that you want to add to your custom category.