---
title: "Walkthrough: Creating a storefront landing page for an email campaign"
slug: "walkthrough--creating-a-storefront-landing-page-for-an-email-campaign"
abstract: "Learn how to create a product page and use it in an automated email campaign to promote a product."
---
# Walkthrough: Creating a storefront landing page for an email campaign
This walkthrough guides you through the process of adding a campaign landing page to the storefront. After you create the page and publish the updates to the storefront, you can include the URL in an [automated email campaign](https://doc.sitecore.com/xp/en/users/exm/100/email-experience-manager/create-an-email-campaign.html) advertising a particular product.
This walkthrough covers how to:
- create a landing page
- build the storefront page
> [!note]
> To follow this walkthrough, when you create the storefront site, you must include the Habitat catalog.
Create the landing page
In this procedure, you create and add a new page to the storefront site. This page is used to create the storefront product page that customers see when they click the URL you send them as part of an Email Experience Manager automated email campaign.
To create a landing page:
1. In the Content Editor, go to *sitecore/Content///Home*.
2. Right-click the *Home* item and click **Insert**, **Page**.
3. In the **Message** dialog box, enter a name for the page, for example *fridge-campaign*, and click **OK**.
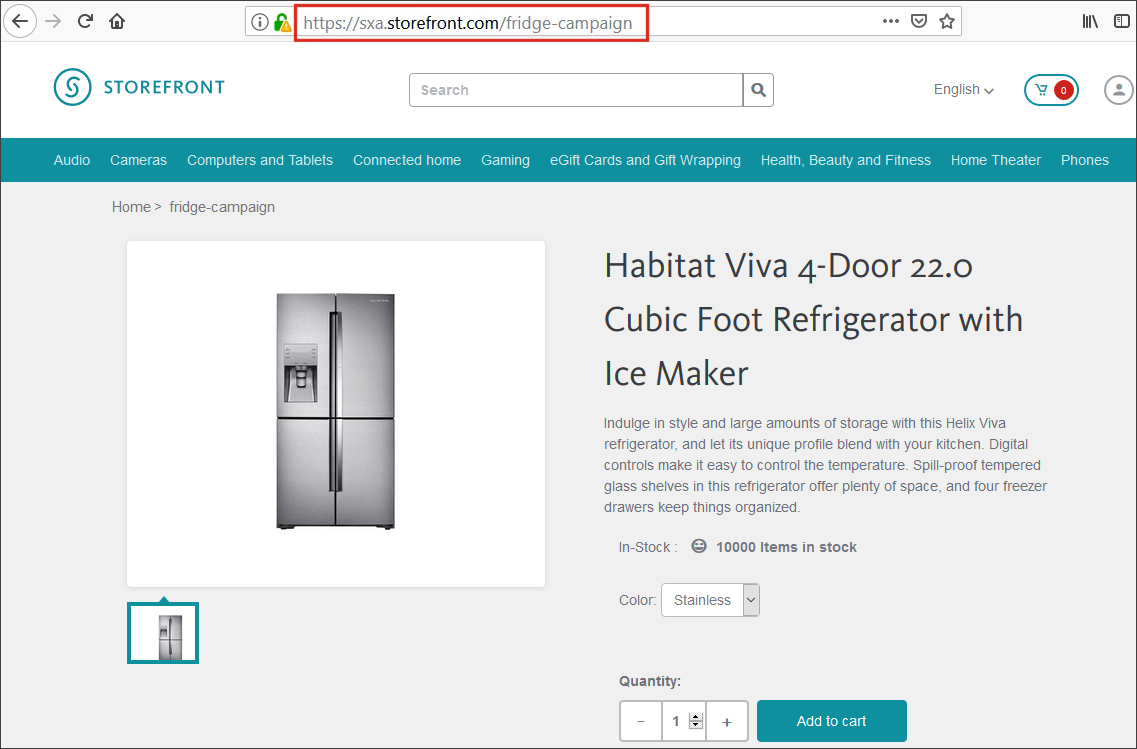
The page name is used in the storefront URL. For example, *fridge-campaign* becomes` www.storefront.com/fridge-campaign`.
4. Right-click the newly created page and click **Experience Editor**.
5. On the ribbon, on the **Experience Accelerator** tab, in the **Look & Feel** section, click **Pick Page Design**.
6. In the dialog box that displays, in the **Page Design** list, click **Default Commerce Page** and click **OK**.
7. On the ribbon, click **Save**.
Build the storefront page
In this procedure, you create the storefront page using the Experience Editor that contains the details and image for the refrigerator you want to promote.
To build the storefront page:
1. On the right side of the application window, click the arrow to open the **Toolbox**.
2. From the **Commerce Catalog** section, drag the **Catalog Item Container** component onto the page.
3. On the **Catalog Item Container** toolbar, select **More, Edit Component Properties**.
4. In the `General, Data Source` section, click `Browse`, and go to *Home/Catalogs/Habitat_Master/Departments/Appliances* and select **Habitat Viva 4-Door 22. Cubic Foot Refrigerator with Ice Maker**, and click **OK**.
5. Click **OK** to close the **Control Properties** dialog box.
The Catalog Item Container rendering sets a product item as the data source for a group of catalog renderings. All the catalog renderings added inside the container rendering use the product you select as the product context. This allows the renderings to display product information on a page where there is otherwise no product context available.
6. From the **Page Structure** section, drag a **Splitter (Column)** component onto the page to organize information into two columns.
7. From the **Commerce Catalog** section, drag the **Product Images** component into the left column of the container.
8. From the **Commerce Catalog** section, drag the following components into the right column of the container:
- Product Information
- Product Inventory
- Product Variants
- Product Price components
In each case, in the Select the Associated Content dialog box, click the existing content (with the same name) and click OK.
9. From the **Commerce Cart** section, drag the **Add to Cart** component onto the page, and save your changes.
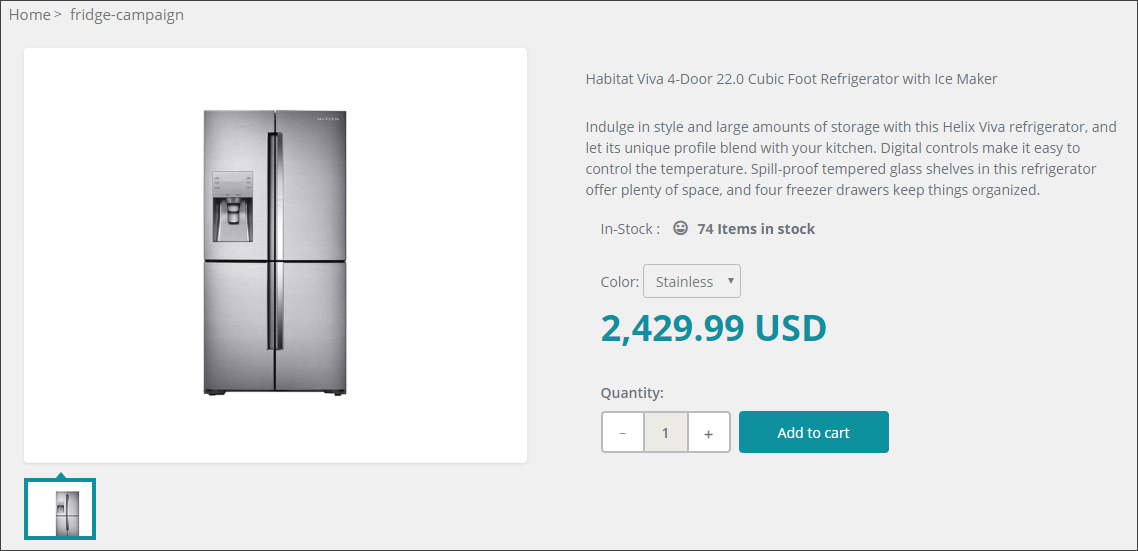
The landing page looks like this in the Experience Editor.
10. On the **Home** tab, click **Publish** and, in the **Publish Item** dialog box, select **Smart Publish**, and click **Publish**. Click **OK** to proceed.
On the live storefront, you access the page using the URL and it looks like this.
> [!tip]
> To see how to create a landing page for an email campaign, watch the [video](https://www.youtube.com/watch?v=f4v3vht_A9k) available on the Discover Sitecore channel.