---
title: "Add a map"
slug: "add-a-map"
abstract: "Add maps and/or specific point locations to your site"
---
# Add a map
The map rendering makes it easy to embed interactive maps anywhere on your webpages.
Before you can use a Map on your page, as an administrator, you must configure the `Content-Security-Policy` header in the `web.config` file to allow the functions that you want to use. The file is located in the root folder for your website. The following example shows how to configure the security policy:
```text
```
To add a Map rendering to a page:
1. Open the Toolbox and, in the **Maps** section, click the Map rendering. When you click and start dragging a rendering, the placeholders where you can drop the rendering light up in blue. Position the Map rendering above the desired placeholder, and when the placeholder lights up, drop the rendering on the page.
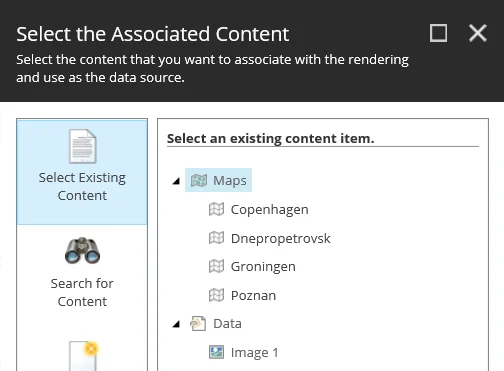
2. In the **Select the Associated Content** dialog box, select the map that you want to display on the page and click **OK**.
3. In the **Control Properties** dialog box, in the **Map Criteria** section, edit the following fields to set the map criteria and styling:
- **Search results signature** – to link the Map rendering to a specific Search Results rendering, enter the signature(s) (separated by a comma) of the Search Results rendering that you want to search on. For example, to display points of interest (POI) results after a user searches for hotels.
- **Center On Found POI** – select to center the map on the POI selected in the Search Results rendering.
- **Animate Found POI** – select to animate the POI selected in the Search Results rendering.
- **Disable map scrolling (dragging)** – select to disable scrolling.
- **Disable map zoom on scroll** – select to disable zooming.
4. To adjust the appearance of the map, add CSS classes to the rendering. In the **Styling** section, select the style(s) you want.
5. To manage the view, the POIs, and the size of the map, on the **Map** toolbar, click **Edit component map item** and edit the relevant fields. For example, to display a satellite view of the map and have all POIs visible:
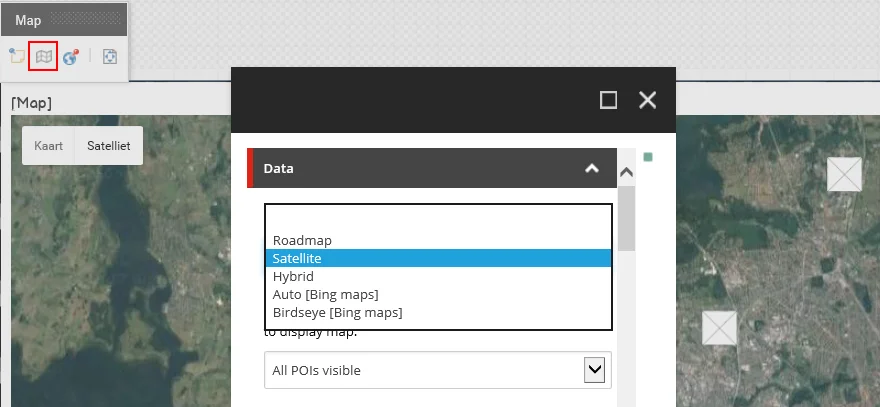
You can edit the following map rendering fields:
| **Field** | **Default options** | **Description** |
| --- | --- | --- |
| Mode | | Select the map mode. By default, the Roadmap mode is selected. |
| | Roadmap | Displays a simple view of roads and geography. |
| | Satellite | Displays basic satellite image of the area. |
| | Hybrid | Combines map data with the satellite imagery. |
| | Auto (Bing) | Displays a standard Bing map view. |
| | Birdseye (Bing) | Displays Bing's aerial photograph view. |
| Central Point Mode | | Select the central point to display. |
| | Defined Central Point | Select to specify that the values entered in the **Central Point Longitude** and **Central Point Latitude** fields are taken as the central point of the map. |
| | Current location | Select to specify that this location is the central point of the map when the browser determines the user's current location. |
| | All POIs visible | Select to calculate the central point between several defined points of interest (POIs). If you select this mode but there is only one POI defined, then the default map zoom is taken (instead of calculating it). |
| Central Point Longitude | | Enter longitude coordinates to determine the central point of the map. For example:
0.127759 |
| Central Point Latitude | | Enter latitude coordinates to determine the central point of the map. For example:
51.507361 |
| Zoom | 1 - 20 | Select a value to determine the initial zoom level of the map. Users can change the zoom level on the page.
Level 1 displays the whole map. Higher values mean more zoom. |
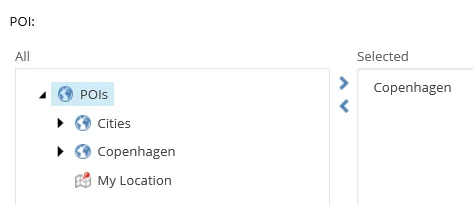
| POI | | Select POIs to display on the map.
 |
| Width | | Enter the width of the map in pixels or percentages. If you do not enter a value, the map takes the width of the selected grid system. |
| Height | | Enter the height of the map in pixels or percentages. If you do not enter a value, the map takes the height of the selected grid system. |
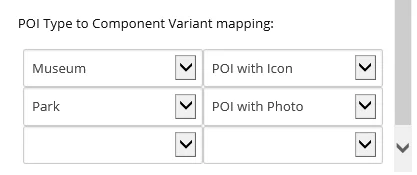
| POI Type to Component Variant mapping | | Select a POI type and a specific rendering variant to connect it to. This enables you to customize the view of POIs differently for each map. For example, you can display all museum POIs with an icon and all parks with a photo.
 |