Add, edit, and delete a rendering
In the Experience Editor, you can use the Toolbox that comes with predefined renderings to make page design easy. You can construct your pages by dragging renderings from the Toolbox to the page.
Add a rendering
Add a rendering
In the Experience Editor, you can add a rendering to the page by dragging it from the Toolbox.
To add a rendering to the page:
-
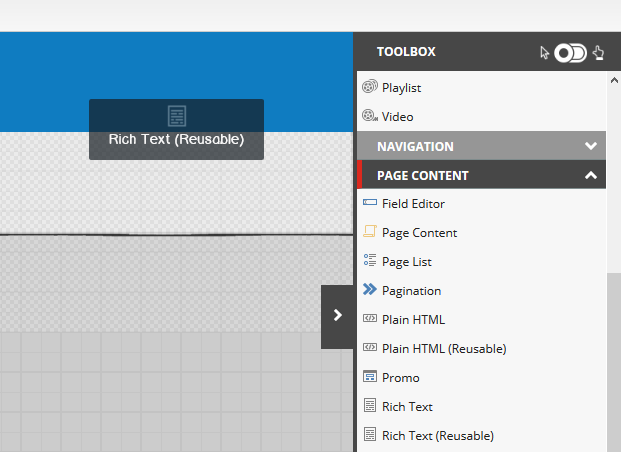
Open the Toolbox and find the relevant rendering. When you click and start dragging a rendering, the placeholders where you can drop the rendering light up in blue.
Alternatively, you can use the touch panel to drag renderings to the page with your finger or you can click the Rendering icon, on the HOME tab.
NoteIf you are unable to drag a certain rendering to the page, this may be caused by placeholder restrictions.
-
Click to drop the rendering on the page.
-
Depending on the rendering you choose, you may need to select a content item. In the Select The Associated Content dialog box, select the content item you want and then click OK.
Once your rendering is on the page, you can move it to a different placeholder without returning to the toolbox. Click the
 on the floating toolbar and move the rendering to a different placeholder.
Edit a rendering
Edit a rendering
There are certain renderings that are editable and others that you cannot edit. If you can edit a rendering, a floating toolbar appears.
To edit a rendering:
-
Click the rendering that you want to edit and in the floating toolbar, click Edit component properties
 . If the rendering is a text, you can edit it directly on the page. You can also click the edit style icon
  from the floating toolbar.
 -
In the Control properties dialog, specify the rendering behavior and/or styles that you want. The available options depend on the type of rendering. For all renderings, you can change the style settings. For example, you can change the paragraph style of the title or change the dimensions of the preview icon.
NoteDo not change the Placeholder and Data Source properties. Changing these properties can cause the rendering to disappear or may lead to other unexpected behavior.
-
To change the style, in the Control properties dialog go to the Styling section, select the style you want.
-
Click Publish to publish the data source assigned to the rendering. It will not publish the site.
Delete a rendering
Delete a rendering
Occasionally, you might want to remove a rendering from a page. For example, because a promotion offer is no longer valid.
To delete a rendering from a page:
-
Click the rendering that you want to delete and in the floating toolbar, click
 Remove.Note
If you have created a complex page layout with lots of column and/or row splitters and you try to delete nested renderings, you may receive a message asking which rendering you want to remove. The section that will be removed after clicking Remove is highlighted. If you click OK, all of the listed components will be removed.