Working with submit actions
You use the submit button for navigation (previous and next buttons), to submit the form, and/or to trigger submit actions. The submit button is located in the Structure section of the Form elements pane. When you drag a submit element to the canvas, you can name it, style it, and determine what happens after clicking the submit button. The options are Submit, Previous, or Next. Then you can assign one or more submit actions.
You can assign default submit actions to all submit buttons, whether they are actually submitting the form or whether they are used for navigation. You can also create a custom submit action.
If you add more than one submit action, the order is important. The submit actions are executed in the order they are added to the submit button. The Redirect to page action aborts the execution of subsequent steps. For example, if you place a redirect action before a save action, the form data might not be saved.
By default, you can add the following actions to submit buttons:
-
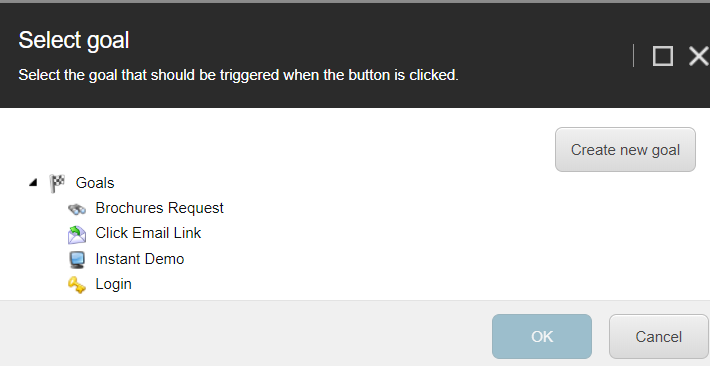
Trigger Goal - selects a preset goal. You can also create a new goal.
-
Trigger Campaign Activity - selects a preset campaign activity. Select the campaign activity that should be triggered when the button is clicked.
-
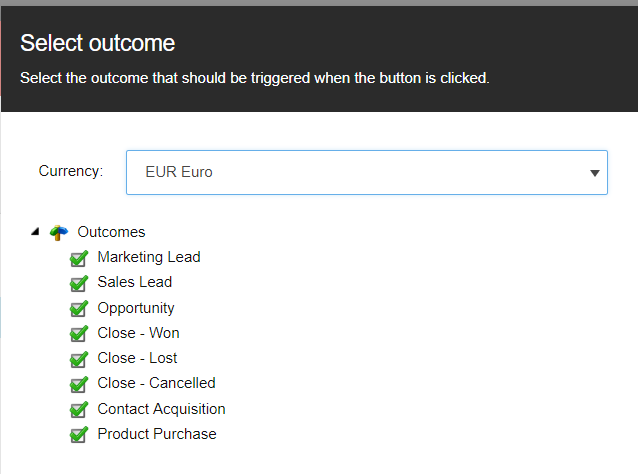
Trigger Outcome - selects an outcome type.
-
Send Email Campaign Message - select the email campaign message that should be sent when the button is clicked.
-
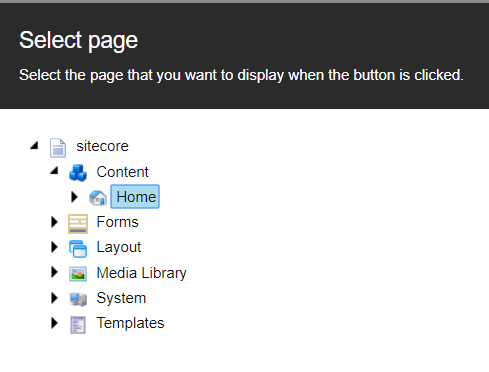
Redirect to Page - redirects the visitor to a web page.
-
Save Data - saves the form data to the database.