Manage and upload files to Sitecore on Azure
After you have successfully deployed Sitecore and are running Azure App Services, you can complete maintenance tasks, for example, updating a license file or applying a hotfix. These types of tasks often rely on you being able to copy files, such as the license.xml file, to various locations within the file structure of the deployed environment.
However, because Azure Web Apps hosts the environment instead of a standard server, this means that some of the traditional ways of copying over files are not directly available, (for example, using a remote desktop).
This topic describes alternative approaches that you can access through the Azure portal that provide an effective file copying functionality.
To upload your files to Sitecore on Azure and manage them there, you must have direct access to the Azure portal and the Azure subscription that hosts the resources that make up your Sitecore deployment. Prior knowledge of which App Service resource is hosting which role is also useful to determine where you need to copy your files to.
Use the Microsoft App Service Editor to replace a license file
Use the Microsoft App Service Editor to replace a license file
The Microsoft App Service Editor ®, formerly known as Visual Studio Online (Monaco), enables you to make changes to a running App Service with a web-based editor.
For example, in the App Service that you use to host the Content Management role, you can use the Microsoft App Service Editor to replace a license file on an Azure Sitecore XM1 installation.
To use the Microsoft App Service to replace a license file on an Azure Sitecore XM1 installation:
-
Log in to the Azure portal with an account that has access to the subscription that hosts the app services where your Sitecore solution is deployed.
-
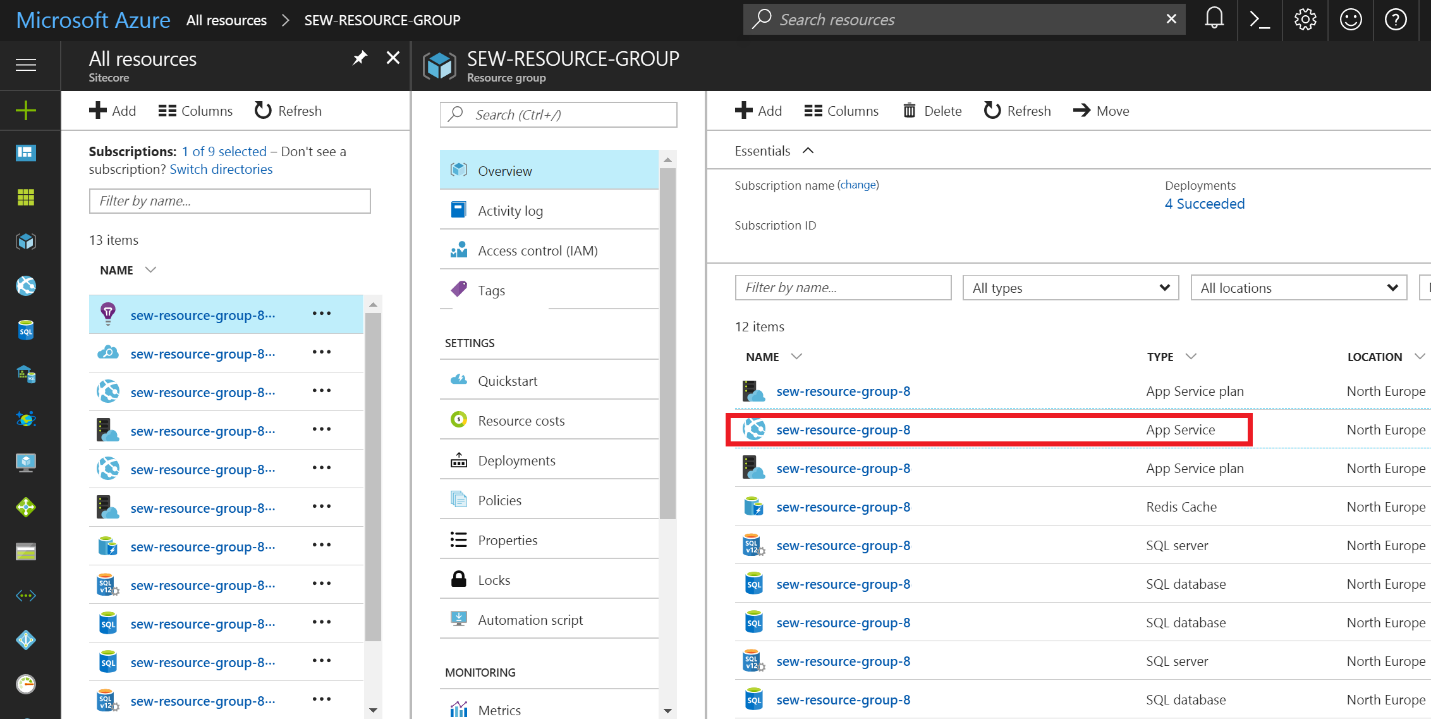
In Microsoft Azure\All resources, click the relevant resource group and open the App Service for your Content Management role.
-
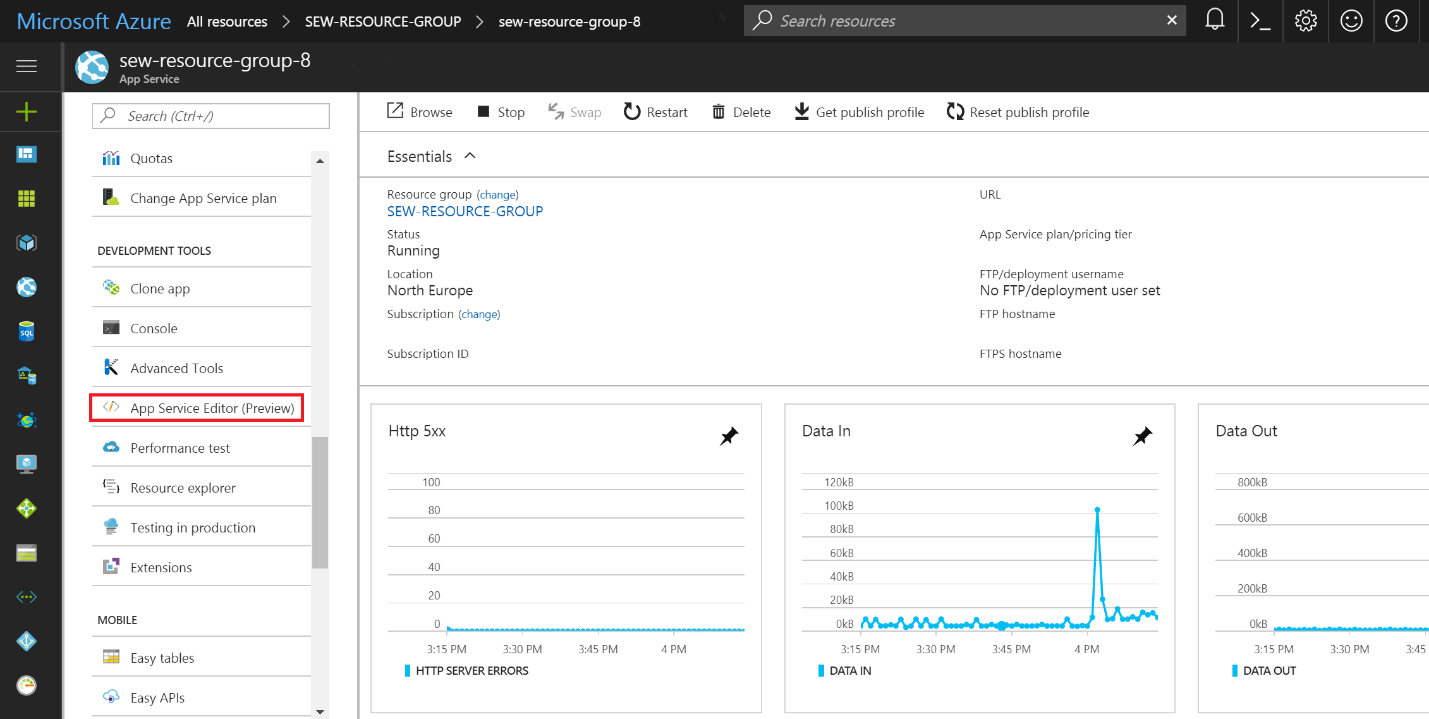
In the App Service menu\ Development Tools, click App Service Editor.
-
To replace the
license.xmlfile after your wwwroot directory opens in another browser window, go to Explore\wwwroot\App_Data\license.xml and drag and drop the new version from your local machine onto the App_Data node.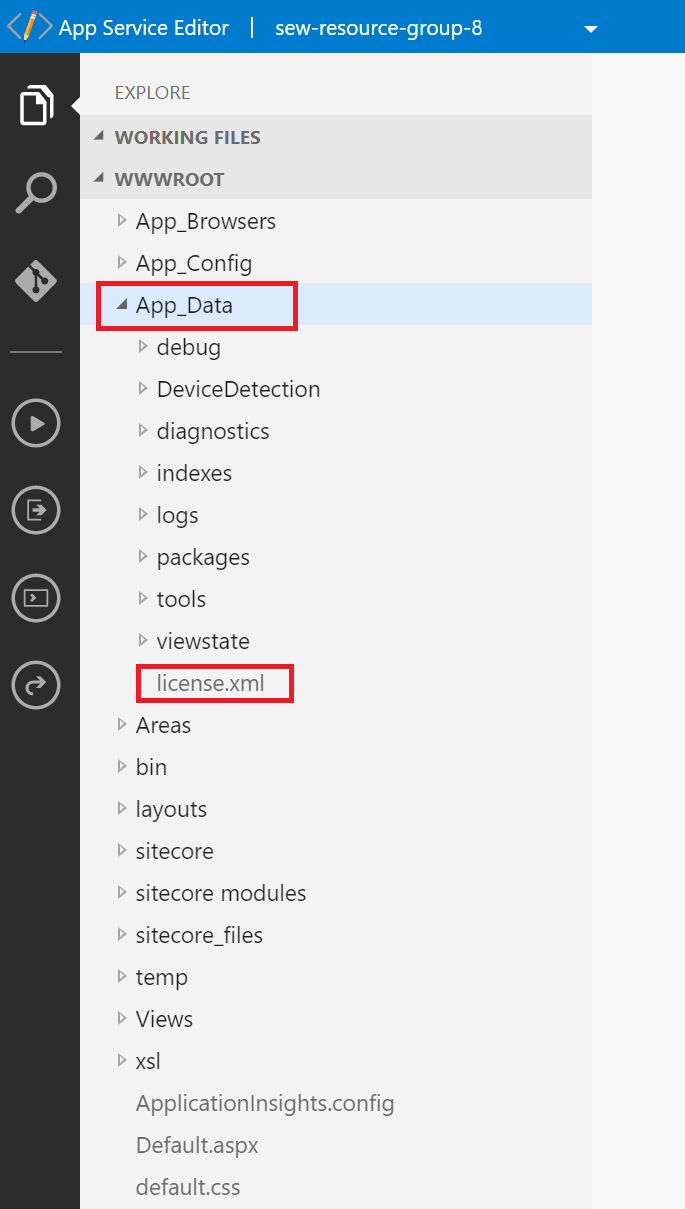
-
When prompted, select to replace the file.
On xConnect installationsxConnect installations, you must update the license.xml file in each of the following nodes:
-
App_data -
App_data\jobs\continuous\IndexWorker\App_data -
App_Data\jobs\continuous\AutomationEngine\App_Data
Use File Transfer Protocols (FTPs) to replace a license file
Use File Transfer Protocols (FTPs) to replace a license file
When Microsoft Azure creates a Web App Service resource, the FTP and FTP endpoints are already active. No further steps are required to enable them and you can use them immediately to deploy/replace files in the relevant locations on the App Service.
For example, to use an FTP to replace a license file on an Azure Sitecore XM1 installation (Content Management role):
-
Log on to the Azure portal with an account that you use to access the subscription that hosts the App Services where Sitecore is deployed.
-
In All resources, locate the resource group that contains the App Service representing the Content Management role and open that App Service.

-
Within the opened App Service, ensure that the Overview section is selected and then, to trigger a publish setting file to download, click Get Publish. (The file contains information for various settings associated with the App Service.)
-
Save the publish settings file to your local machine and then open it using a text editor, such as Notepad.
-
Search within the file for the values of the following three settings and save them:
Value
Description
publishUrlThe value for an FTP host name for the App Service.
userNameUse the
userNamecredential when establishing an FTP connection to thepublishUrlhostname.userPWDUse the
userPWDcredential when establishing a connection to thepublishUrlhost name.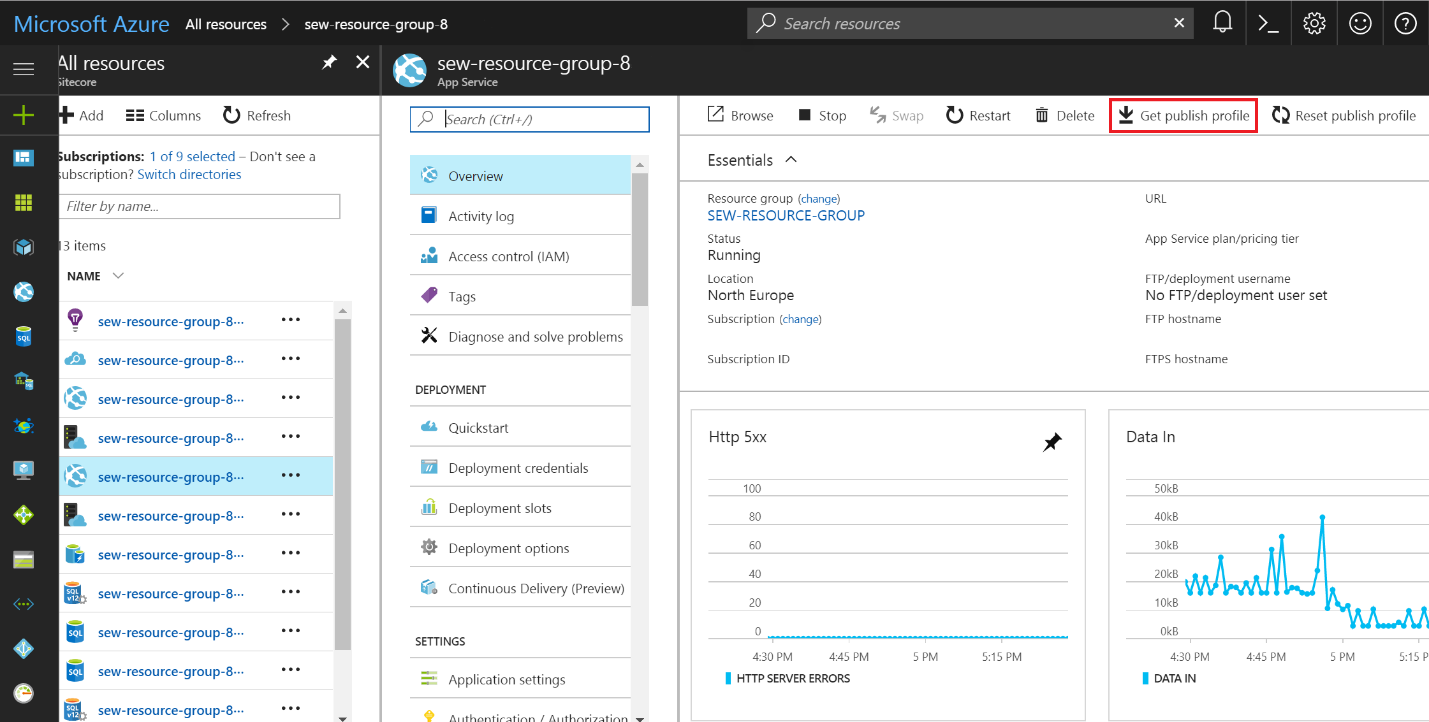
-
To replace the license file that is in your App_Data subdirectory and view and edit all of the content within the wwwroot directory of your Sitecore installation, use an FTP client to connect to the App Service and use the credentials that you previously saved from the publish settings file (see the previous step).
NoteOn xConnect installations , you must update the
license.xmlfile in each of the following subdirectories:-
App_data -
App_data\jobs\continuous\IndexWorker\App_data -
App_Data\jobs\continuous\AutomationEngine\App_Data
-