Deploy a new Sitecore environment to Azure App Service
With the Sitecore Azure Toolkit, you can deploy a new Sitecore environment to the Microsoft Azure App Service®.
Plan your environment
Plan your environment
When planning the Sitecore environment to deploy via the Sitecore Azure Toolkit there are a number of decisions that you must make to ensure the correct resources are prepared. These include:
-
Choosing the right configuration of Sitecore - for example, is the deployment for the Sitecore Experience Platform or for the Sitecore Experience Manager.
-
Sizing the deployment - the Sitecore Azure Toolkit provides the ability to scale the resources for your configuration to match the expected use of the solution. It allows you to size from a minimal developer/testing type environment to a large-scale production deployment suitable for millions of visits per month.
-
Selecting which additional Sitecore modules you want to deploy alongside the platform - for example, Sitecore Email Experience Manager (EXM).
Prepare WebDeploy packages
Prepare WebDeploy packages
The Azure Resource Manager (ARM) requires that WebDeploy packages (WDPs) containing the application code and resources are available to download over the Internet. One option to host WDPs is to create a Microsoft Azure® storage account.
To prepare the WDPs and host within a Microsoft Azure® storage account:
-
Ensure you have access to a Microsoft Azure subscription to deploy a Sitecore environment.
-
Create a Microsoft Azure storage account.
-
Go to the Sitecore Experience Platform download page and download the prebuilt WDPs.
-
Use Azure Storage Explorer to connect to a Microsoft Azure storage account and upload Sitecore WDPs for your configuration. Ensure you use a blob type storage container.
NoteWDPs have the extension
.scwdp.zipand contain the role name as part of the file name, for example,Sitecore 8.2 rev. 161115_cm.scwdp.zip. -
In Azure Storage Explorer, copy the URLs for your WDPs.
-
In Azure Storage Explorer, create a Shared Access Signature (SAS) token for the storage container, and then append the token to the WDP URLs. Make a note of the package URLs for later use in ARM templates.
Deploy the right version of Sitecore
Deploy the right version of Sitecore
The Azure Resource Manager (ARM) requires that WebDeploy packages (WDPs) containing the application code and resources are available to download over the Internet. One option to host WDPs is to create a Microsoft Azure® storage account.
To prepare the WDPs and host within a Microsoft Azure® storage account:
-
Ensure you have access to a Microsoft Azure subscription to deploy a Sitecore environment.
-
Create a Microsoft Azure storage account.
-
In the Microsoft Azure storage account menu, Blob Service, click Containers, and add a container.
-
If you are installing a new standard Sitecore configuration, go to the Sitecore Experience Platform download page and download the prebuilt WDPs for the size and Sitecore configuration that you have planned for. If you want to install a customized deployment of Sitecore, you can create your own WDPs by using the Sitecore Azure Toolkit to package them. Remember, they must be suitable for the planned Sitecore configuration and size.
-
Use Azure Storage Explorer to connect to a Microsoft Azure storage account and upload the Sitecore WDPs for your configuration to the container that you created earlier.
NoteWDPs have the
.scwdp.zipextension and contain the role name as part of the file name, for example,Sitecore 9.0 rev. 161117_cm.scwdp.zip. When you download the WDPs from the Sitecore Experience Platform Download page, they are delivered in a zip file. You must unzip them from that file before you can upload them to Microsoft Azure storage.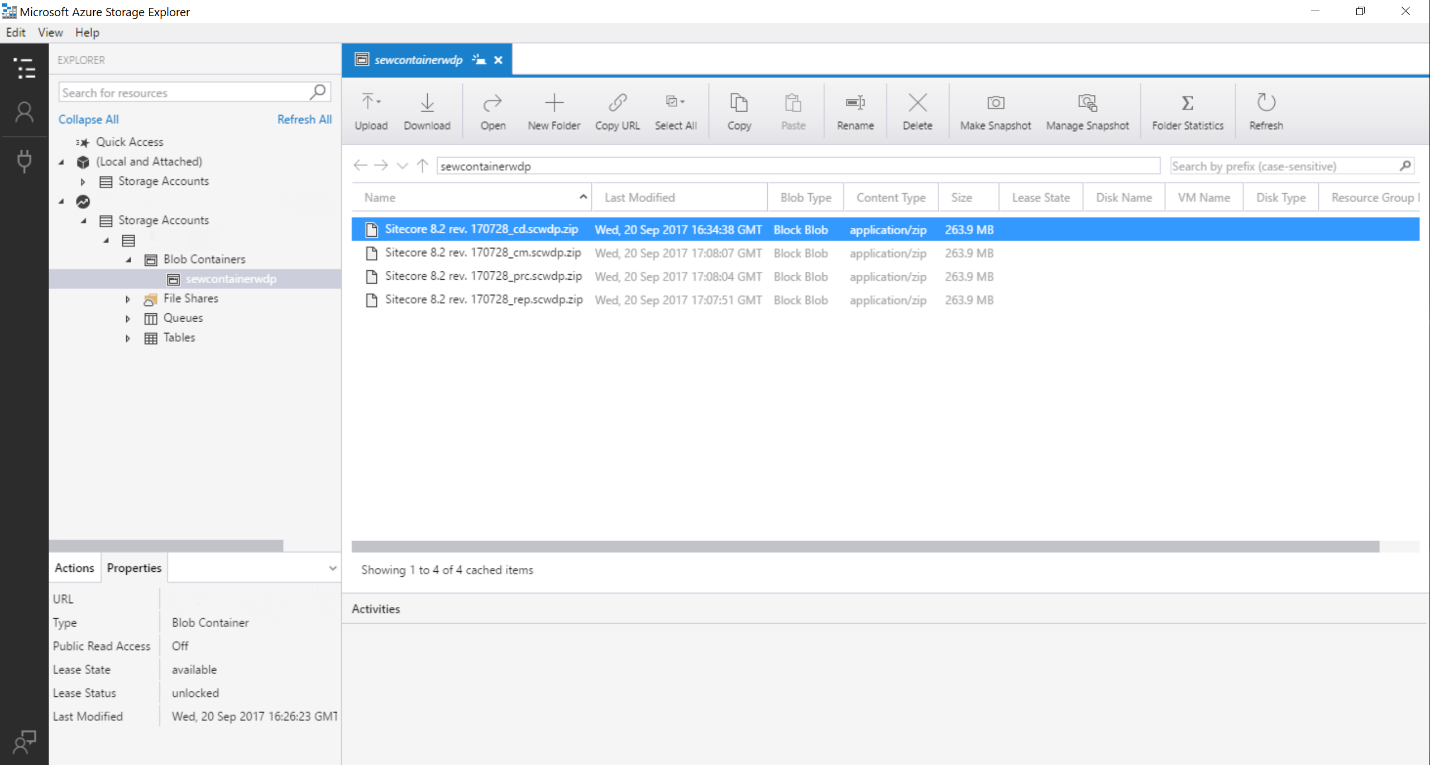
-
In Azure Storage Explorer, create a Shared Access Signature (SAS) token for the storage container. The SAS allows temporary access to the WDPs during the deployment process. When you create the SAS token, ensure that you allow enough time between the Start time and Expiry time to guarantee access during the scheduled deployment.
-
Copy and make a note of the value in the Query string field because this contains the token.
NoteThe URL and SAS token are required for later use in the ARM templates, so for each WDP that you upload, take a note of its URL and append the SAS token to it. For example:
https://examplestorage.blob.core.windows.net/examplecontainerwdp/Sitecore%209.0%20rev.%20171128_cd.scwdp.zip?st=2017-09-01T10%3A04%3A00Z&se=2017-09-28T10%3A04%3A00Z&sp=rl&sv=2015-12-11&sr=c&sig=8X5xhtTCxxXlcLmTmtZX4dx1tFtx4w9lX43qYJA4ZBQ%3D
Next steps
Next steps
After you have finished planning your environment, preparing your WebDeploy packages, and deploying the relevant version of Sitecore for your requirements, use the Walkthrough: Deploying a new Sitecore environment to the Microsoft Azure App Service topic to:
-
Configure Sitecore
-
Prepare the authentication certificate
-
Download and configure an environment template
-
Deploy with Solr as a search provider
-
Invoke the deployment command and start provisioning
-
Configure post deployment