Manage associated content
Associated content is the content on a page that originates from another item. If you edit associated content, you also change the content on other pages that come from the same item.
To ensure that you know if you are editing associated content and thereby also changing content somewhere else on your site, you can get an overview of all the associated content on a page.
In the Experience Editor, you can get an overview of the associated content in the following ways:
-
To view a list of all the associated content that is used on a page, on the Presentation tab, in the Content section, click Associated content. In the drop-down list, click an item to edit the corresponding content item in the Content Editor.
-
To see which components and sublayouts on a page contain associated content, on the View tab, select the Associated content check box. This highlights, with a green dotted line, all the components and sublayouts on the page that contain associated content.
When publishing a page, any associated content that comes from content items that are not in the final workflow state will not be published. When you select the Associated content check box and attempt to publish the page, a notification appears to notify you if one or more items used on the page are not publishable.
This topic outlines how to:
View and manage associated content
View and manage associated content
To view and manage the associated content of a single component or sublayout:
-
Click a component or a sublayout that contains associated content.
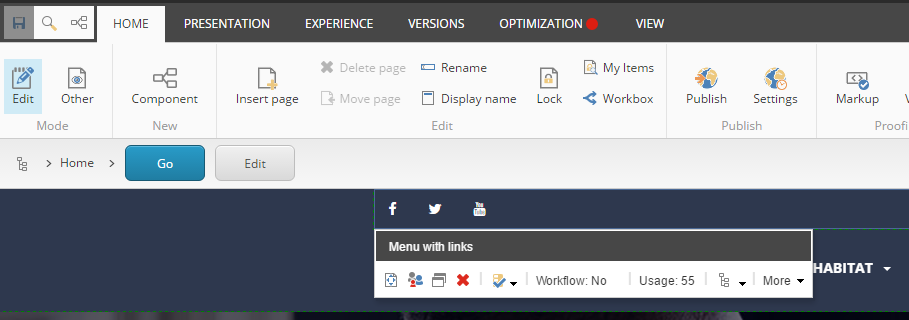
-
In the floating toolbar that appears, you can see the following information about the content:
-
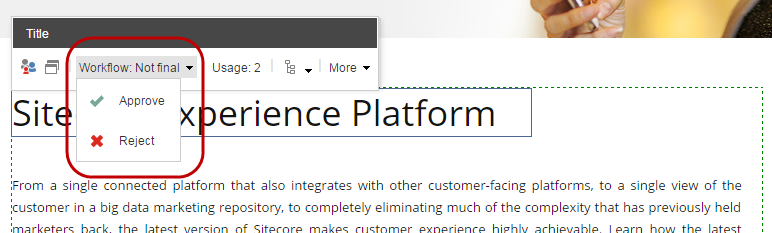
Workflow – indicates if the item where the associated content comes from is part of a workflow and if the item is not yet in the final workflow state. If you have the sufficient rights, you can click Workflow and move the item through to the next workflow state.
 Note
NoteWhen you move the item through the workflow, remember that this also affects all the other pages where the item's content is used on your site.
-
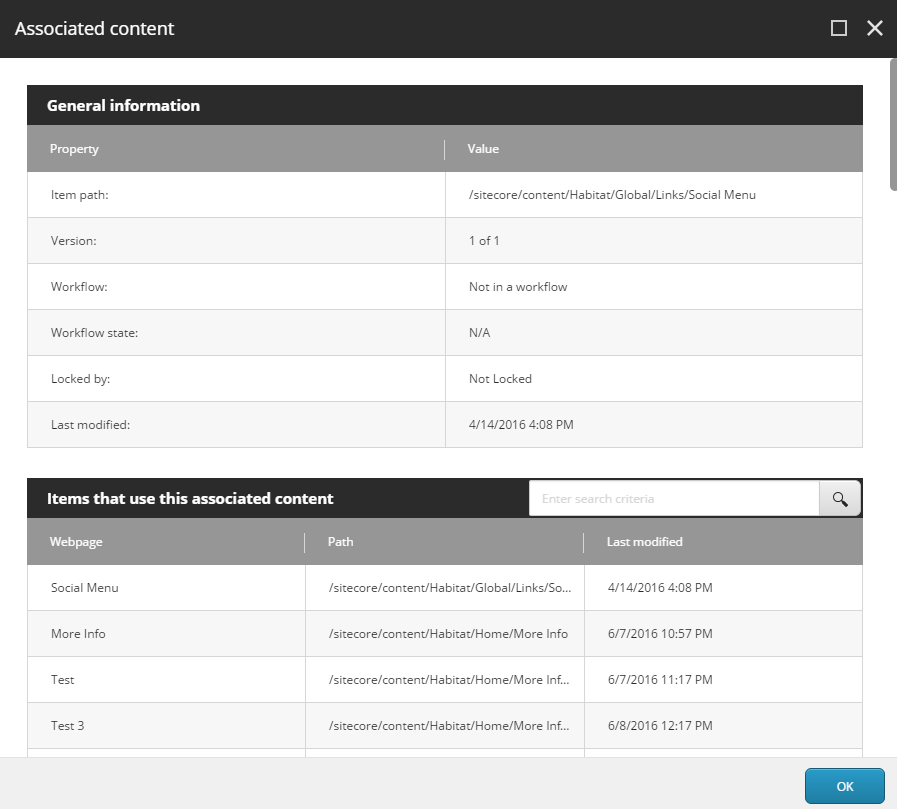
Usage – indicates the number of items that use the associated content. To see general information about the associated content and the list of items that also use this content, click Usage.
-
Add or change associated content
Add or change associated content
To add or change the associated content of a component or a sublayout:
-
In the Experience Editor, click the component or sublayout that you want to add or change the associated content for.
-
On the floating toolbar:
-
To change the associated content, click
 and then Change associated content.
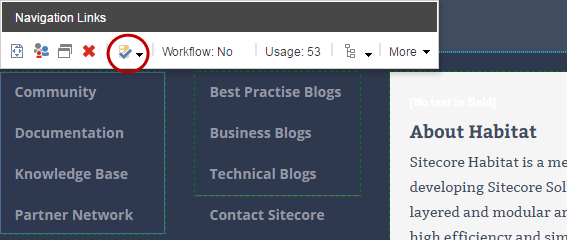
-
To add new associated content to the component or sublayout, click
 and then Add associated content.
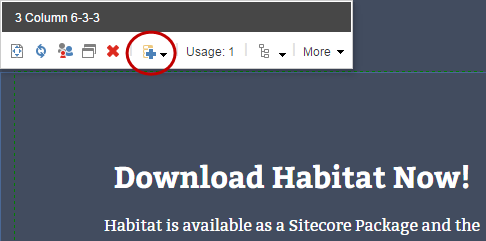
-
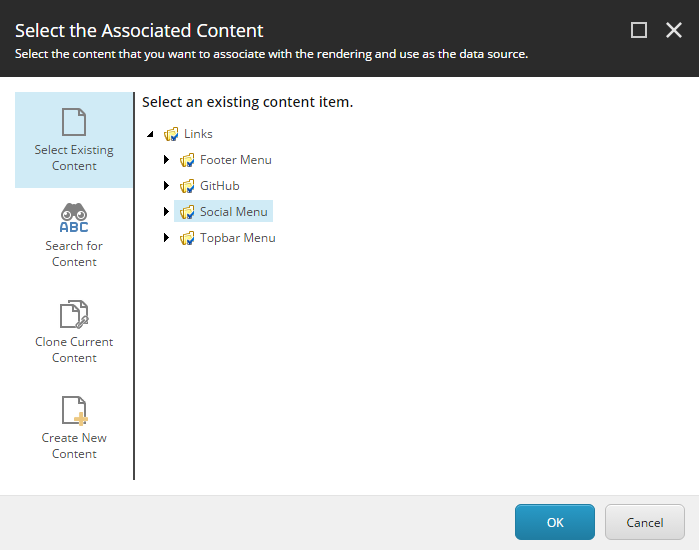
-
In the Select the Associated Content dialog box, navigate to or search for the item that you want to use as the source for the component or sublayout and click OK.