Clean up the content databases
If you are upgrading from Sitecore XP 10.1.0 or later and your solution does not contain any modules or connectors, skip this section.
Because all the default items have been moved into resource files, you must remove them from your databases.
Database clean-up is a one-time operation.
The Sitecore.UpdateApp tool removes these items, if they have not been modified, from the Core, Master, and Web databases.
If you have modified any of the default items, they are not removed and the tool adds a list of them to its log file. We recommend that you review this list and decide if you still need the modifications. If you still need the modifications, re-apply your customizations to the new items after you have deleted the old ones. If you decide that you don’t need the modifications, just delete these items from SQL databases.
The Sitecore.UpdateApp is a standalone console tool.
To clean up the content databases:
-
On the Sitecore Launchpad, open the Control Panel, in the Database section, click Clean up databases, select all the databases, and then click Clean.
-
Locate the
Sitecore.UpdateApp 1.X.X for Sitecore X.X.X rev XXXXXX.zipfile that you downloaded earlier and extract its contents to a folder, for example,C:\Sitecore.UpdateApp. -
Copy the license file to the Data folder of the tool, for example,
C:\Sitecore.UpdateApp\Data\license.xml. -
In the
C:\Sitecore.UpdateApp\App_Config\ConnectionStrings.configfile, update the connections to your databases.If you do not have a security database, use the connection to the core database.
-
Add the upgrade resources from every module and connector to the UpdateApp Tool files.
NoteIf your solution does not contain any modules or connectors, skip this step.
You can download the upgrade packages for the different versions of the Sitecore modules from the Sitecore downloads site.
- Download the items as resources ZIP file for the module version that is installed on your solution. If the module or the connector has several versions, there are separate folders for each version.
- Unpack the ZIP file into a local folder, for example,
C:\ModulesUpgradeResources\[Module Name]. - Copy all the subfolders and files from the Data folder, for example, from
C:\ModulesUpgradeResources\[Module Name]\X.X.X\Data. - Paste all the subfolders and files into the UpdateApp Data folder, for example,
C:\Sitecore.UpdateApp\Data. - Repeat this procedure for every module and connector.
-
Open a Command Prompt in the tool folder and run:
The number of items that are removed from each database is listed in the Command Prompt window.
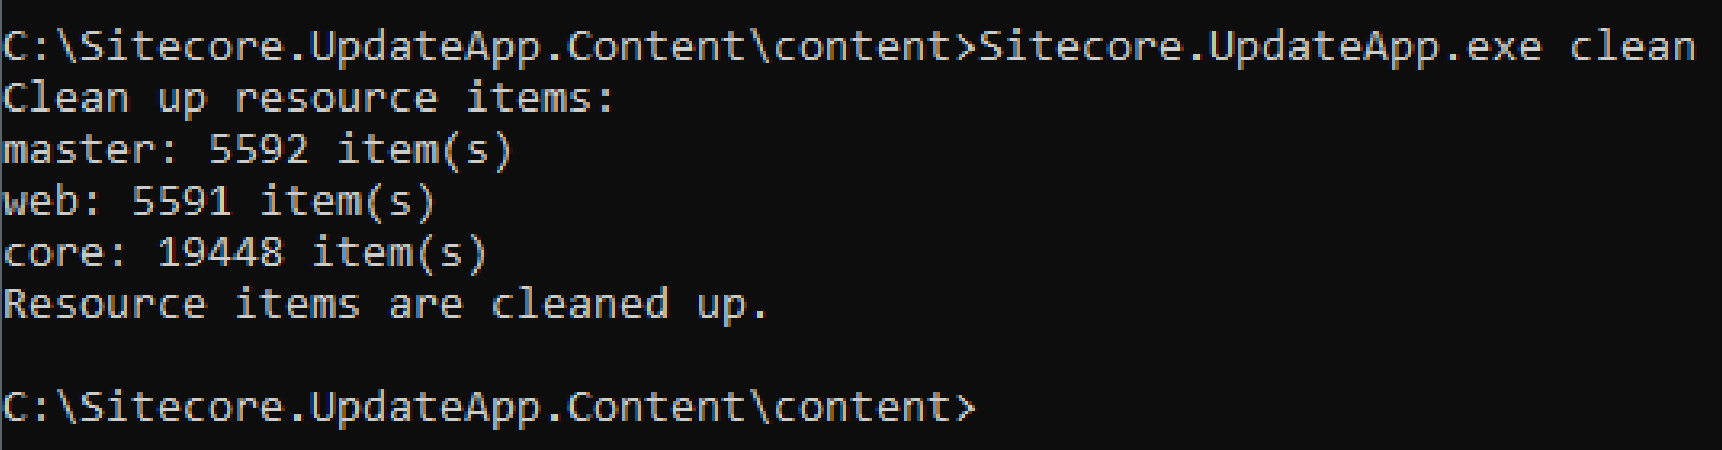
Detailed information about any modified items that are skipped is written to the log files in the tool folder –
\Data\logs. -
To clear the caches, open the
<instance_url>\sitecore\admin\cache.aspxpage, click Refresh, and then click Clear all. -
If you have modified items, you should review and delete them after you install the new Sitecore instance and connect it to upgraded databases, as described in section Connect to SQL databases under the “Complete databases cleanup” heading.
If you have more than one Web database, you must run steps 3 and 4 for every Web database.
You must update the connection string to each Web database as you run the tool, and not change the connection strings to the other databases.