Walkthrough: Creating a custom form save action
This topic shows you an example of how to set up a custom Data Exchange Framework (DEF) save action for Experience Forms.
To set up a custom save action, you must:
Create a form
Create a form
When a website visitor submits a form on the website it triggers the save action. To create a form:
-
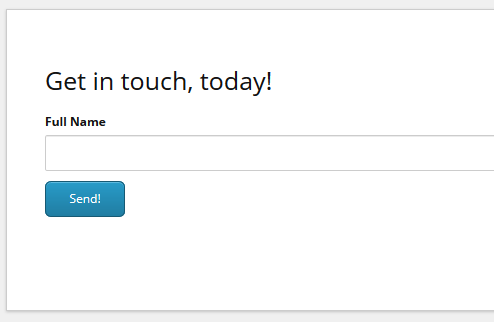
In the Sitecore Launchpad, click Forms. Click Create, and click Blank form to create a new form. Name it, for example, Get in touch form.
-
Add a single-line text field to the form and name it, for example, Full Name. Add a submit button.
-
Save the form.
If you have a Sitecore scaled deployment (XP1), you must ensure that the .cshtml file for the form is copied to your content delivery (CD) servers. For example, <CD server>\Views\Shared\<filename>.cshtml.
Create a tenant
Create a tenant
The tenant is a container for the settings that must be configured for the save action. To create a tenant:
-
Open the Content Editor and navigate to
/sitecore/system/Data Exchange. -
On the Folder tab, click Empty Data Exchange Tenant to create a new tenant.
-
Select the created tenant and click on the Data Exchange SDK tab in the top menu bar.
-
Click Upgrade Tenant. In the Instruction Set field, click the Tenant Service option.
-
Make a note of the tenant ID. Add the tenant ID, host, and credentials in the
<Tenant Service>\App_Config\ConnectionStrings.configfile, in the connection string calledSitecore. For example:NoteIf you have a Sitecore scaled deployment (XP1), change the database parameter to web, and change the host parameter to the URL of your CD server.
-
On your Sitecore Content Management and Marketing Automation Service servers, in the
App_Config\connectionstring.configfile, make sure you have a connection string for the tenant web service associated with the tenant. For example: -
If you have a Sitecore scaled deployment (XP1), you must also add the Tenant Service connection string to the
connectionstring.configfile on your CD server.
Create value accessors
Create value accessors
Value accessors read the values of the fields in the form. To create the value accessors:
-
Navigate to
<tenant>/Data Access/Value Accessor Sets/Providers. If you already have aFormsfolder, open it. If not, on the Folder tab, click Forms Value Accessor Set to create and open theFormsfolder. -
In the
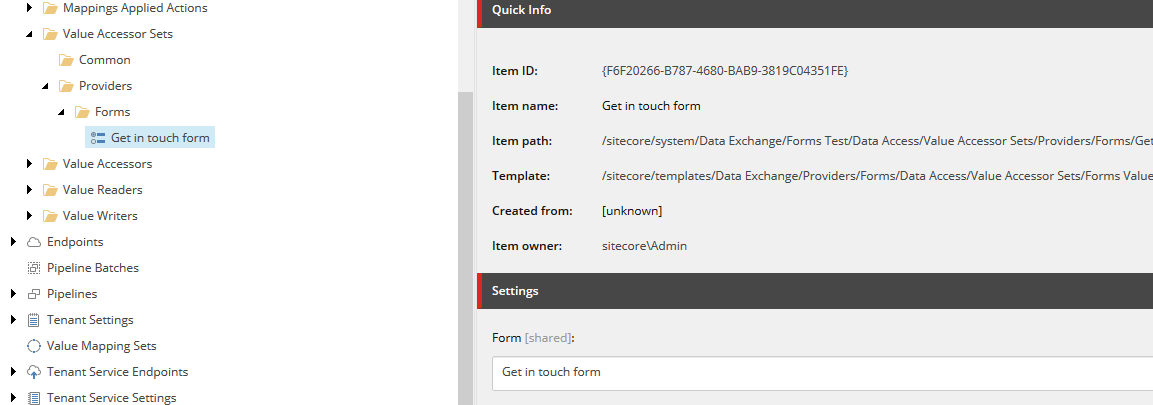
Formsfolder, on the Folder tab, click Forms Value Accessor Set to create a new item. Name it, for example, Get in touch form.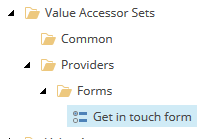
-
Select the item you created and switch to the Content tab. Select the form you created and save the item.
-
From top menu bar, select Data Exchange, and click Add Form Fields.

-
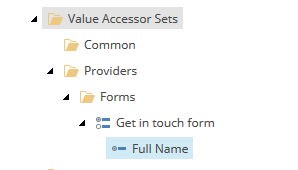
To create value accessors, select the form fields whose values you want to read, and click OK.
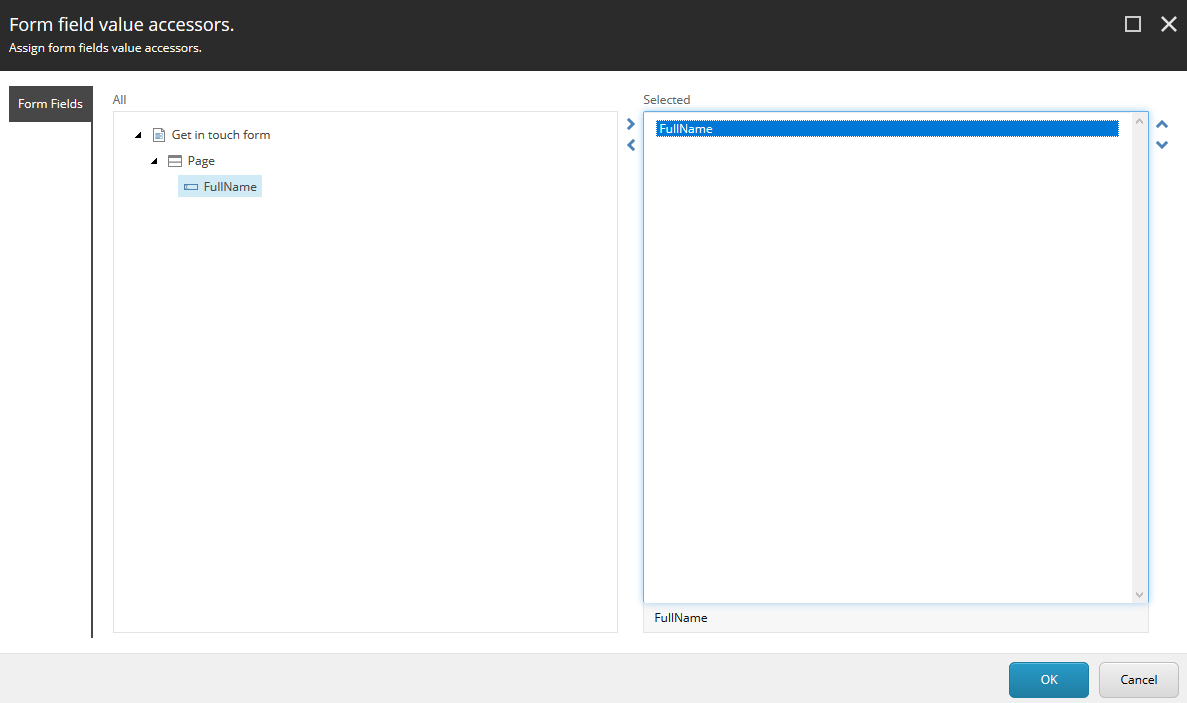
The value accessors are located under the value accessor set item.
Create a pipeline
Create a pipeline
To create a pipeline:
-
Navigate to
<tenant>/Pipelines. -
On the Folder tab, click Pipeline to create a pipeline. Name it, for example, Form Testing Pipeline.
-
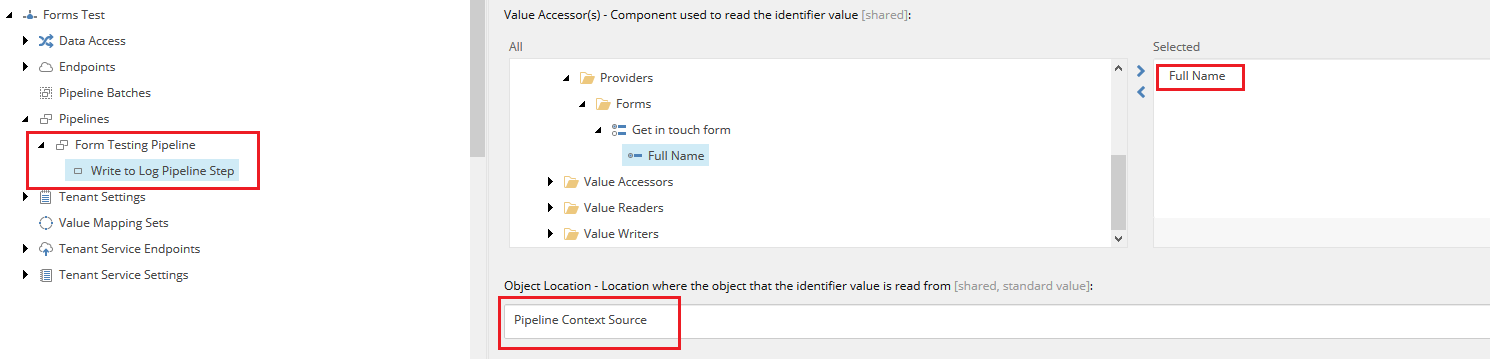
On the Folder tab, click Write to Log Pipeline Step to create a new pipeline step. Name it, for example, Write to Log Pipeline Step.
-
Select the pipeline step and configure the Full Name value accessor as shown:
-
Save the changes.
Create value readers
Create value readers
To create value readers:
-
Navigate to
<tenant>/Data Access/Value Readers/Common/. -
On the Home tab, click Dot Net Object from HttpRequest Content Value Reader to create new item. Name it, for example, FormModel From Http Content.
-
Set the Type field to Sitecore.DataExchange.ExperienceForms.Models.FormModel, Sitecore.DataExchange.ExperienceForms.Models.

-
Navigate to
<tenant>/Data Access/Value Readers/Common/. -
On the Folder tab, click Raw Value Reader to create a new item. Name it, for example, Raw Value Reader.
-
Navigate to
<tenant>/Data Access/Value Readers/Common/. -
On the Folder tab, click Synchronization Settings Plugin Value Reader to create a new item. Name it Synchronization Settings Plugin Value Reader.
-
Set the Storage Location to Source.

-
Save the changes.
Create a pipeline context builder
Create a pipeline context builder
To create a pipeline context builder:
-
Navigate to
<tenant>/Tenant Service Settings/Pipeline Context Builders. -
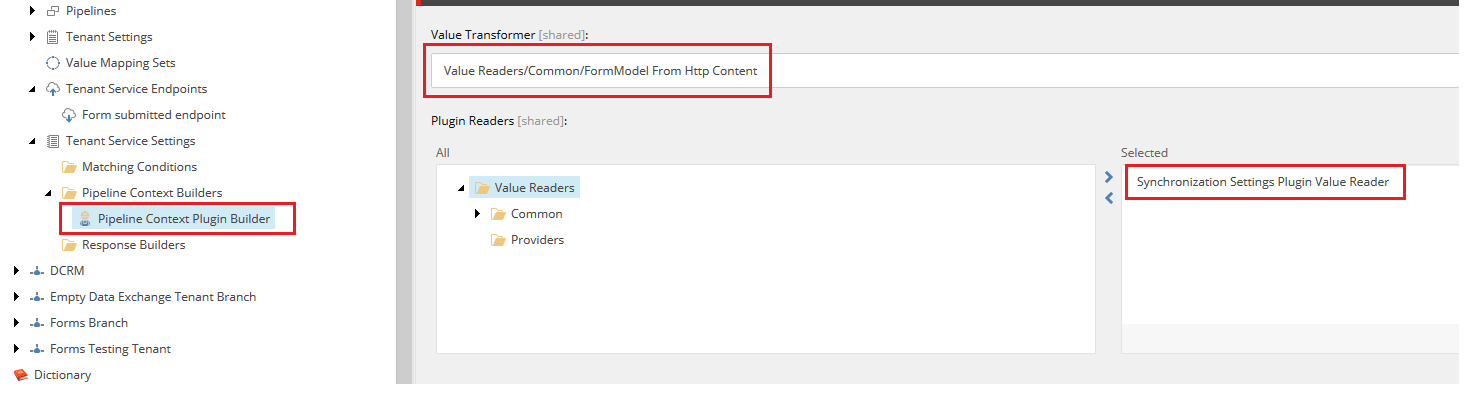
On the Folder tab, click Pipeline Context Plugin Builder to create a new item. Name it, for example, Pipeline Context Plugin Builder.
-
Set the Value Transformer field to the http request value reader that you created in the previous step.
-
Set the Plugin Readers field to the synchronization settings plugin value reader that you created in the previous step.
-
Save the changes.
Create a Tenant Service Endpoint
Create a Tenant Service Endpoint
To create a Tenant Service Endpoint:
-
Navigate to
<tenant>/Tenant Service Endpoints. -
On the Folder tab, click Pipeline Tenant Service Endpoint to create a new item. Call it, for example, Form submitted endpoint.
-
Configure the endpoint with the parameters in this table:
Parameter
Content
Request Value Reader
Value Readers/Common/Raw Value Reader
Pipeline Context Builder
Pipeline Context Builders/Pipeline Context Plugin Builder
Pipeline
Pipelines/Form Testing Pipeline
-
Select the Enabled checkbox. Save the changes.
Configure the form
Configure the form
You must configure the form to trigger the Tenant Service Endpoint when a user saves the form. To do so:
-
From Sitecore Launchpad, click Forms and select the form that you created.
-
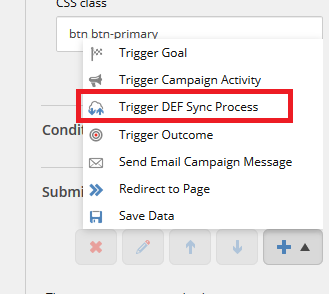
Select the Submit button in the form. On the General tab, in the Submit Actions section, click the plus sign to open a list of actions. In the list, click Trigger DEF Sync Process to add a submit action.
-
In the Select the Tenant Service Endpoint pop-up, in the
Data Exchangestructure, select the Tenant Service Endpoint that you want to trigger when the form is submitted. In the Connection String Name field, enter the connection string that points to the URL for the tenant web service.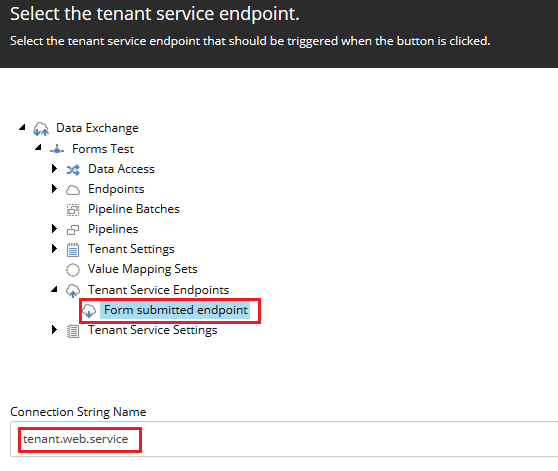
-
Attach the form to a webpage and publish it. Now, whenever a user submits the form, it triggers the Tenant Service Endpoint to run the selected pipeline.
If you need to troubleshoot the process, check the Tenant Service logs.