Create a project
When your InDesign document has a complex structure, or it requires automated publishing, or when several people need to work on InDesign documents simultaneously or in a workflow, you can store the InDesign document as a project in Sitecore.
A project consists of a number of elements that correspond to the InDesign model of a document. For every new project, you need to select a branch. The branch is a predefined collection of items that you use to create a new structure. The branch you choose determines the basic structure for a new project.
InDesign projects are created with template items that are gathered in branches. These branches are stored in Sitecore and offer pre-set templates for projects, documents, and pages. You can change or create additional branches if you have sufficient rights.
This topic outlines how to:
Create a project
Create a project
You can create a project from an existing document or you can start with a new project and add Sitecore data later. You can create new projects in the Libraries panel.
To create a new project in IDC:
-
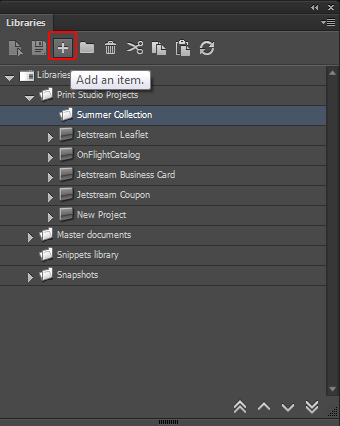
In the Libraries panel, in the Print Studio Projects section, select the folder where you want to create a new project.
-
Click Add an item.
-
In the Add New Project dialog box, enter the name of the new project.

-
In the Branch field, select one of the available project branches from the drop-down list.
-
Click OK to create a new project with a structure based on the selected branch.
Add a document and a page to a project
Add a document and a page to a project
When you have created a project, you can start working on the structure by adding documents and pages to it. A project consists of an InDesign book (corresponding to the InDesign book (.indb)). A book can have one or more document items and a document can have one or more page items (corresponding to the InDesign pages). You can add pages and pages folders to documents.
-
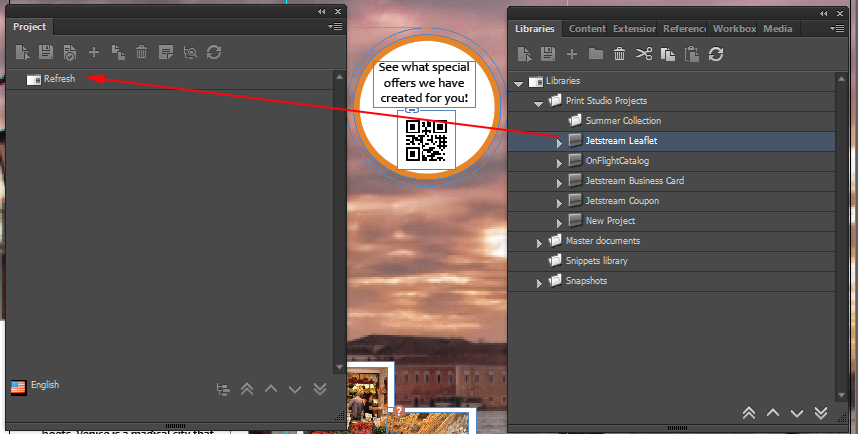
To open the project that you created, in the Libraries panel, click the project and drag it to the Project panel.
-
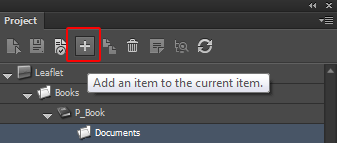
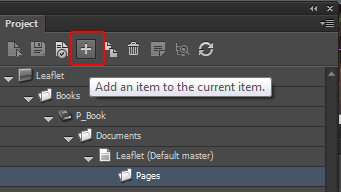
In the Project panel, click the Documents folder, and click Add an item to the current item.
-
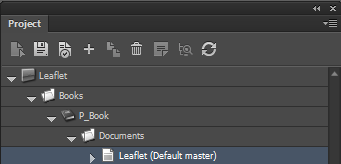
In the Add new document item dialog box, enter the name of the new document item, select a branch and click OK. The document is added to the project and is automatically assigned with the default master. However, you can assign a different master document.
-
If you want to add a Pages folder, click the document and click Add an item.
-
To add a page, select the Pages folder and click Add an item to the current item.
-
In the Add New Page dialog box, enter the name of the new page item, select one of the page branches from the Branch field drop-down list, and click OK.