The elements in a marketing automation campaign
In Marketing Automation, you build automation campaigns from a set of elements. The Start and End elements appear in your new automation campaign by default and the additional elements are available in the Toolbox pane.
For a quick overview of the elements of a marketing automation campaign, watch the video.
You can use the following types of elements in your automation campaign:
-
Default elements – the Start and End elements that indicate where contacts are enrolled in the automation campaign and where the campaign ends.
-
Marketing actions – the elements that you can use to make changes to a contact in the system, for example, to add or subtract points from a contact's engagement value.
-
Listeners – the elements that you can use to listen for specific actions made by a contact in a specific period, to identify how the contact should proceed through the automation campaign.
-
Decision points – the elements where you can specify a rule to identify how a contact should proceed through the automation campaign. You can use this element to filter contacts without delay because they are evaluated against the specified rule immediately.
-
Other elements – the elements that you can use either to delay a contact's movement through the campaign or to move a contact to the beginning of the campaign or to another campaign.
 |
 |
 |
Language version
Language version
You must create a language version of each marketing automation element (goals, events, and so on) programmatically or in the Content or Experience Editor to match the language in use. If the language version is missing, various selection lists in the marketing automation element settings pane are not available (that is, they are disabled). In the following example, the Select a goal list is greyed out.

For example, if the language version of the site and the marketing automation elements is French but there is no French language version of each marketing automation element (goals, events, outcomes, and so on), various selection lists are not enabled. The only exception is marketing list selection lists and email campaign selection lists, which are always retrieved in English (en) regardless of the content language.
Activity type items must also have language versions that match the language in use. You can find these items in the Content Editor, in the sitecore/system/Settings/Analytics/Marketing Automation/Activity Types folder. The client translation files on the Sitecore download page contain the necessary language versions for the activity type items.
Elements in a marketing automation campaign do not have a language fallback by default.
Default elements
Default elements
In the details for the Start element, you specify the conditions for when a contact must be enrolled in the automation campaign, and the End element indicates the end of the automation campaign.
Start
Use the Start element to define which contacts you want to enroll in the automation campaign. In the Start element details, you can choose to enroll a contact in the campaign based on their completion of specific goals, events, or outcomes, or based on a custom rule that you can create in the Rule Editor.
For example, you can enroll contacts in the automation campaign when they have signed up for a newsletter or visited a specific page on your website.
You can toggle between All and Any to specify if the contact must fulfill one or more of the specified goals, events, or outcomes.

End
The End element indicates the end of the automation campaign. Depending on how you build your automation campaign, not all contacts reach this element, for example, if they have been moved to another automation.
Marketing actions
Marketing actions
You can use the marketing actions elements to make changes to the information that is stored about a contact in the Experience Database (xDB), for example, to add points a contact's engagement value or to add the contact to a contact list.
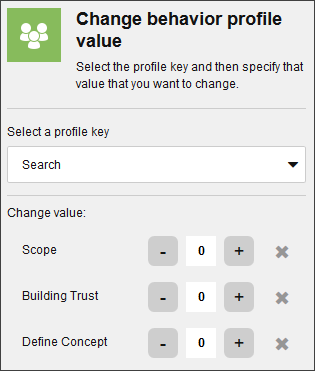
Change behavior profile value
Use the Change behavior profile value action to change the behavior profile value of a contact that reaches this element in the automation campaign.
In the details for this action, first select the profile keys that you want to change for the contact and then specify the new value for each profile key.
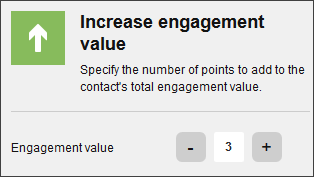
Increase engagement value
Use the Increase engagement value action to increase the engagement value of a contact that reaches this element in the automation campaign.
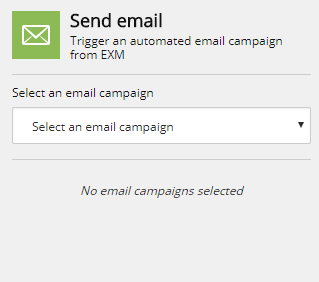
Send email
Use the Send email action to send a selected email message to a contact when they reach this element in the automation campaign.
In the details for this action, in the Select a email campaign drop-down menu, click the relevant email campaign and then click Apply. You can only choose between the automated email campaigns.
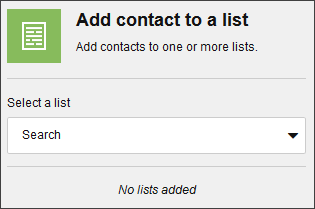
Add contact to list
Use the Add contact to a list action to add the contact that reaches this element in the automation campaign to one or more contact lists.
In the details for this action, in the Select a list drop-down menu, click the relevant contact lists.
Unsubscribe from a list
Use the Unsubscribe to list action to remove the contact that reaches this element in the automation campaign from one or more contact lists.
In the details for this action, in the Select a list drop-down menu, click the relevant contact lists.

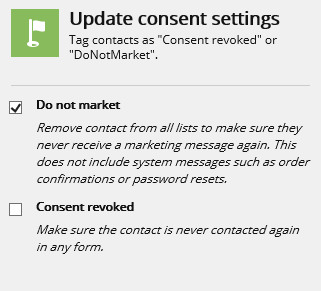
Update consent settings
Use the Update consent settings action to change the consent settings for a contact that reaches this element in the automation campaign. You can select:
-
Do not market – removes the contact from all your lists so that the contact never receives a marketing message again.
-
Consent revoked – ensures that the contact never receives any message from you again.
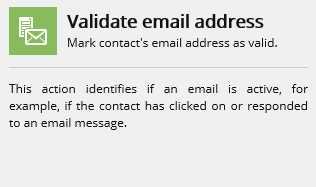
Validate email address
Use the Validate email address action to mark the email address of the contact that reaches this element in the automation campaign as valid. An email address is valid if, for example, the contact has responded to or clicked a link in an email message that was sent to this email address.
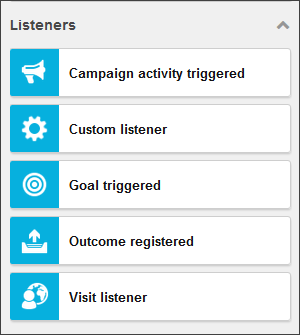
Listeners
Listeners
A listener element enables you to specify a rule to identify how a contact should proceed through the automation campaign. From the listener, a contact can proceed along a Yes path or a No path in the campaign, depending on how the contact meets the specified conditions in the rule within the specified period.
Because a listener keeps the contacts from moving further through the automation campaign until they meet the specific conditions, you can subject contacts to content personalization even if they do not perform any actions.
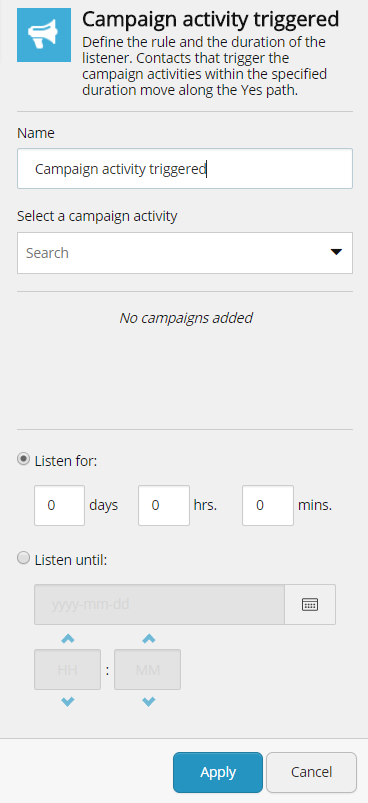
Campaign activity triggered
Use the Campaign activity triggered listener to evaluate if the contact that reaches this element in the automation campaign has triggered one or more campaigns. The contacts that have triggered the selected campaigns at any time move along the Yes path.
In the details of the listener, enter a name for the listener, select the relevant campaigns, and then specify for how long you want the listener to be evaluating the contacts that reach this element. You can specify if the listener should be evaluating contacts for a specific period or until a specific date and time.
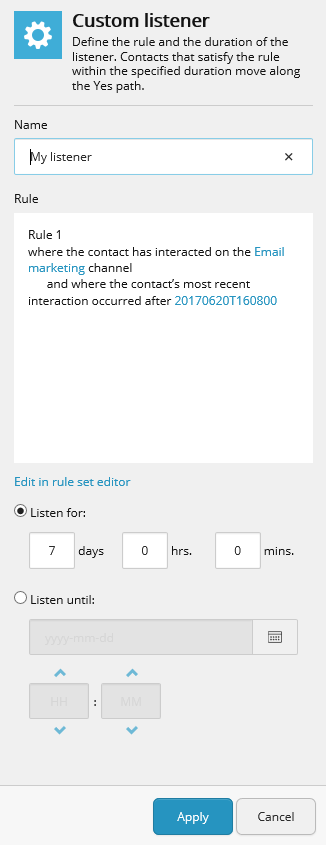
Custom listener
Use the Custom listener listener to evaluate if the contact that reaches this element in the automation campaign meets the conditions in the specified rule within the specified period and then send them along the Yes path or No path accordingly. You can set the custom listener to listen for anything that you specify in a custom rule in the rule set editor.
In the details of the listener, click Edit in rule set editor to create the rule and then specify for how long you want the listener to be evaluating the contacts that reach this element. You can specify if the listener should evaluate contacts for a specific period or until a specific date and time.
Commerce marketing automation campaigns include the following custom listener: Check cart activity.
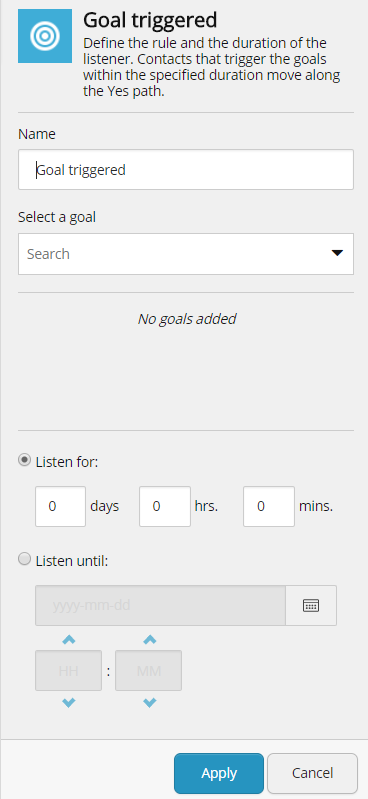
Goal triggered
Use the Goal triggered listener to evaluate if the contact that reaches this element in the automation campaign has triggered one or more goals. The contacts that have triggered the selected goals move along the Yes path.
In the details of the listener, enter a name for the listener, select the relevant goals and specify if the contacts should have triggered all the selected goals or just one of them. Then specify for how long you want the listener to be evaluating the contacts that reach this element. You can specify if the listener should be evaluating contacts for a specific period or until a specific date and time.
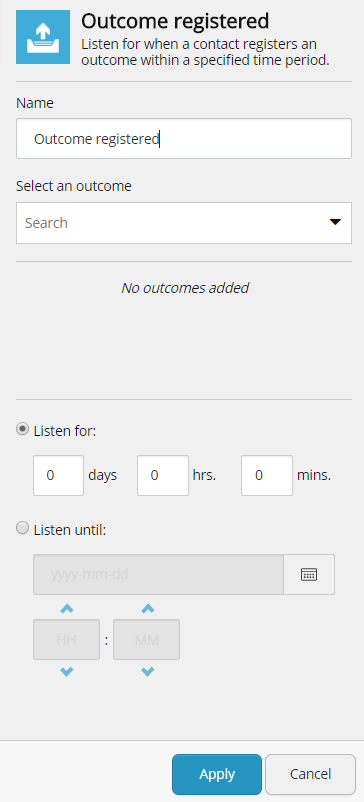
Outcome registered
Use the Outcome registered listener to evaluate if the contact that reaches this element in the automation campaign has registered one or more outcomes. The contacts that have registered the selected outcomes move along the Yes path.
In the details of the listener, enter a name for the listener, select the relevant outcomes and specify if the contacts should have triggered all the selected goals or just one of them. Then specify for how long you want the listener to be evaluating the contacts that reach this element. You can specify if the listener should be evaluating contacts for a specific period or until a specific date and time.
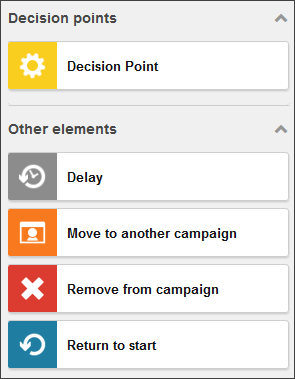
Decision points
Decision points
A decision point element evaluates a rule to determine the path in the automation campaign that the contact should continue along.
You can use the decision point element to filter contacts into multiple paths in the campaign. For example, to further filter the contacts that trigger a goal, you add a Goal triggered listener to the campaign and after that you add a number of decision points that each filter the contacts based on, for example, location, age, preferences, and so on.
When you place a decision point after a listener in your campaign and you want to delete the listener, all that paths after the listener, where a decision point appear, are removed as well.
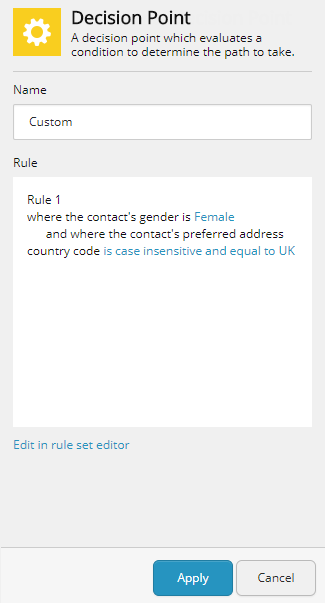
Decision point
Use the Decision point element to direct the contacts that reach this element in the automation campaign along a specific path. You create the rule that you want the contacts to be evaluated against and if a contact meets the conditions in the rule, they continue along the Yes path.
Other elements
Other elements
You can use these elements either to pause a contact's movement through the campaign or to move a contact to the beginning of the campaign or to another campaign.
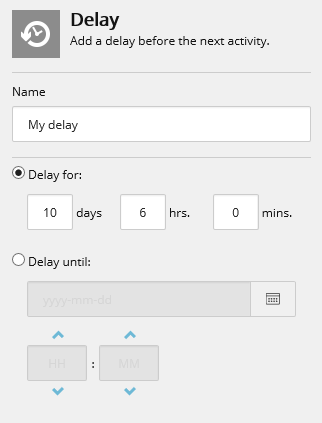
Delay
Use the Delay element to delay the contact's further movement through the automation campaign, for example, you can use the delay to subject the contact to specific personalization of content for a limited period.
In the details of the element, you can specify if the contact must be delayed for a specific period or until a specific date and time.
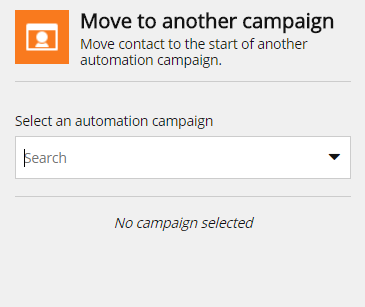
Move to another campaign
Use this element with caution because it can place a contact in a loop between multiple automation campaigns. When you select an automation campaign to enroll contacts in, you must check if the selected automation campaign enrolls contacts to more campaigns.
Use the Move to another campaign action to enroll the contacts that reach this element in the automation campaign to another automation campaign.
In the details for this action, in the Select an automation campaign drop-down menu, click the automation campaign that you want to enroll the contacts in. You can only choose to move the contact to one other automation campaign.
When you use this action in your campaign, the elements in the campaign that appear on the path after this element are removed.
Remove from campaign
Use the Remove from campaign action to remove the contacts that reach this element from the automation campaign. This element gives you the flexibility to remove contacts from anywhere in the automation campaign.
When you use this action in your campaign, the elements in the campaign that appear on the path after this element are removed.
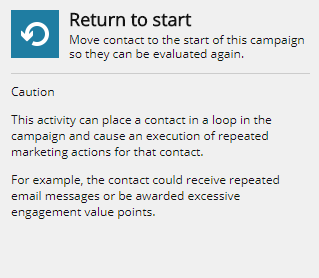
Return to start
Use this element with caution, because it can place a contact in a loop in the campaign and cause an execution of repeated marketing actions for that contact.
Use the Return to start action to move the contacts that reach this element in the automation campaign to the beginning of the campaign so that they can go through it again. The contact is moved to the element after the Start element and will therefore not be evaluated by the Start element again.
When you use this action in your campaign, the elements in the campaign that are on the path after this element are removed.