Add a form to a webpage
With Sitecore Forms, you can easily create a new blank form or you can use a template. Using the Content Editor or the Experience Editor, you can then insert your form into a web page. The first step is to replace the default sample layout with an MVC layout you create. Afterwards, you can insert your form into the webpage.
By default, Sitecore Forms comes with basic .cshtml Razor files for all form elements (Website/Views/FormBuilder/FieldTemplates). You can customize these files or add new files as required.
Add the MVC layout
Add the MVC layout
For Sitecore Forms to function correctly, you must first create and add the MVC layouts. See MVC and renderings.
Form scripts and styles are stored in the <root>/sitecore modules/Web/ExperienceForms folder and are loaded by the @Html.RenderFormScripts() and @Html.RenderFormStyles() helpers.
For scripts and styles associated with a form to be rendered correctly, you must use two layouts: MVC Layout.cshtml and MVC OuterLayout.cshtml. MVC OuterLayout will be used to add a reference to Sitecore.ExperienceForms.Mvc.html and to call the @Html.RenderFormStyles() and @Html.RenderFormScripts() helpers. This adds the necessary references to the form Javascript files and stylesheets.
To add the MVC layout:
-
In the Content Editor, go to
sitecore/Layout, right-click Layouts, click Insert, and click MVC Layout.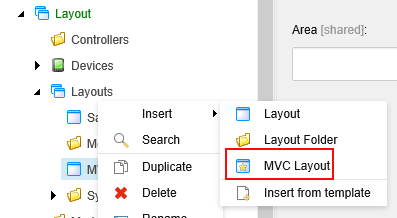
-
On the Name page of the wizard, enter a name and click Next.
-
On the Location page of the wizard, select a folder in the Sitecore content tree for the new file, for example, Layouts, and click Next.
-
On the File Location page, select the location where the new file is to be stored in the Sitecore webroot file structure, and click Create.
-
Open the
MVC Layout.cshtmlfile and addLayout = MVC OuterLayout.cshtml. TheMVC Layout.cshtmlfile now contains the following code. -
Create and add the MVC OuterLayout.cshtml file to the Views folder of your website. It must contain the following code:
Insert a form in a webpage
Insert a form in a webpage
After you have added the MVC layout, you can insert your form in a webpage.
To add the form to the page:
-
In the Content Editor, go to your website, click the page where you want to insert the form and, on the Presentation tab, click Details.
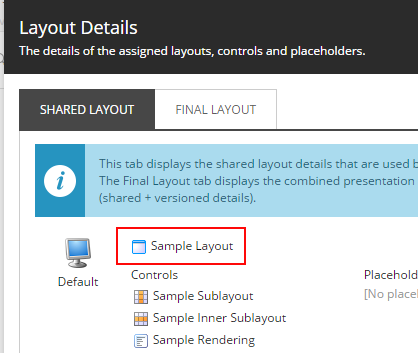
-
In the Layout Details dialog box, click the default layout to change it (in the following example, Sample Layout).
-
In the Device Editor dialog box, from the drop-down list, click
Layouts/MVC Layout.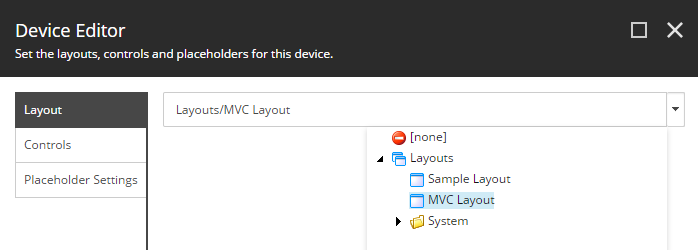
-
On the Controls tab, remove the existing controls and then click Add.
-
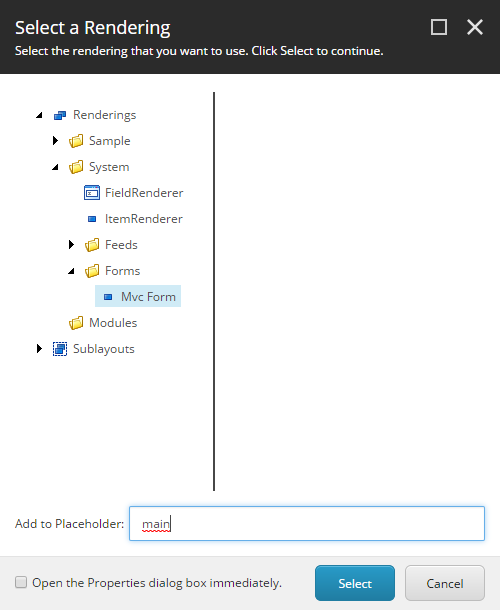
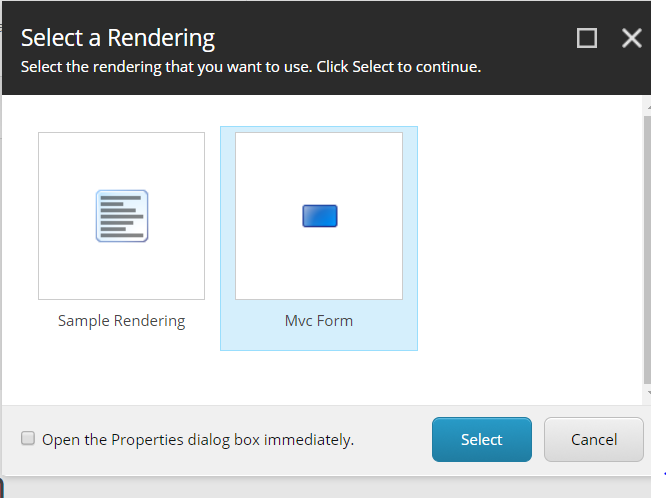
In the Select a Rendering dialog box, go to
Renderings/System/Forms, and click MvcForm. -
In the Add to Placeholder field, enter main, and then click Select.
-
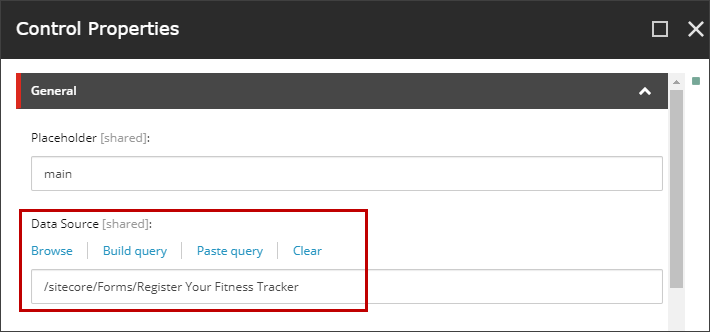
In the Device Editor, on the Controls tab, click the MVC form control and click Edit.
-
In the Control Properties dialog box, in the Data Source field, select the form you want to add to the page, and click OK.
-
Click OK to close the Control Properties dialog box, click OK to close the Device Editor dialog box, and then click OK to close the Layout Details dialog box.
-
Save your changes and press F9 to publish the site.
NoteTo publish, you must have created the main placeholder definition item and your page must be publishable.
Add a form to a webpage in Experience Editor
Add a form to a webpage in Experience Editor
You can insert your form into your web page in the Experience Editor. To be able to do this you must make sure that you are using the MVC Layout for the page and the Mvc Form control is allowed for placeholders.
To add a form to a webpage in Experience Editor:
-
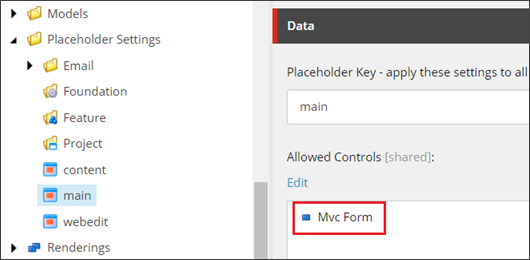
To add the Mvc Form control to the Placeholder Settings, in the Content Editor, navigate to
sitecore/Layout/Placeholder Settingsand click a placeholder, for example main. -
In the Data section, in the Allowed Controls field, click Edit.
-
In the Select Items dialog box, click the Mvc Form, and click OK.
-
Save your changes.
-
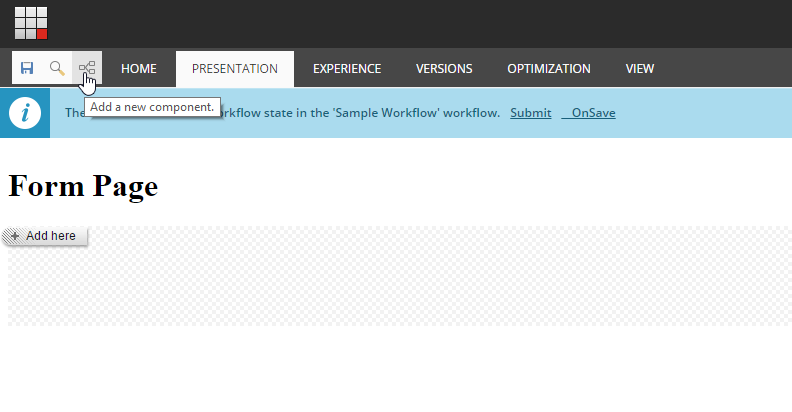
Open the relevant webpage in the Experience Editor and click Add a new component.
-
Click Add here.
-
In the Select a Rendering dialog box, click Mvc Form, and click Select.
-
In the Select the Associated Content dialog box, select the form and click OK.
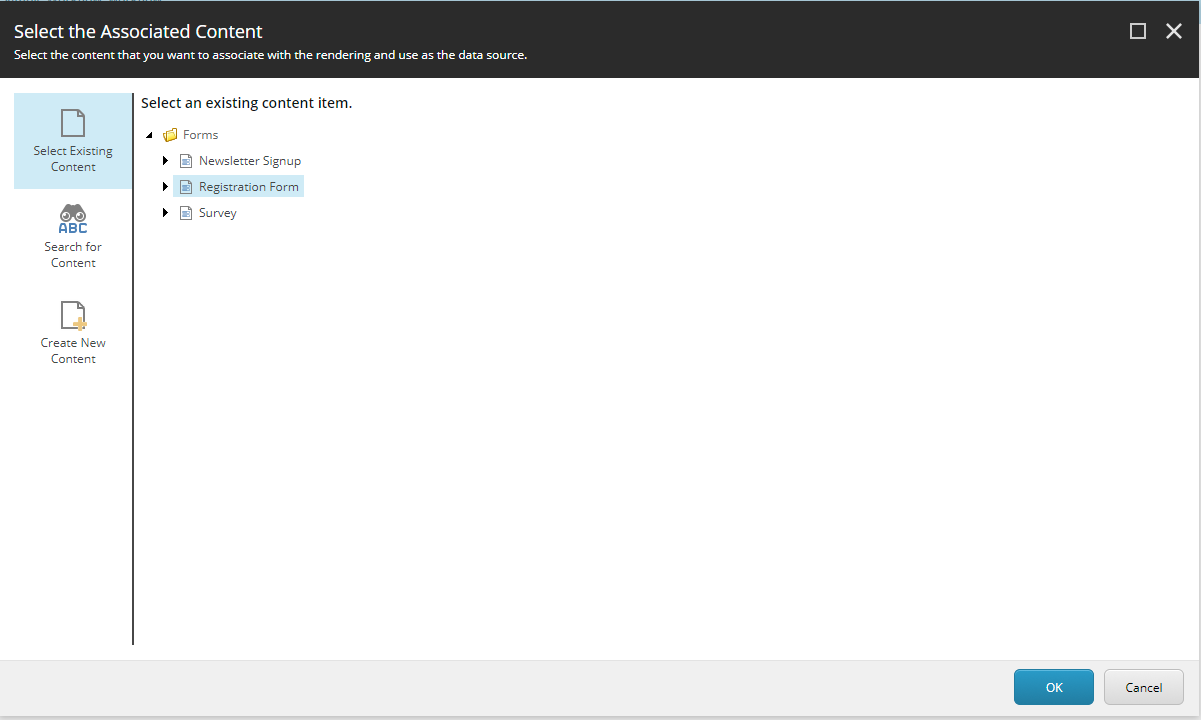
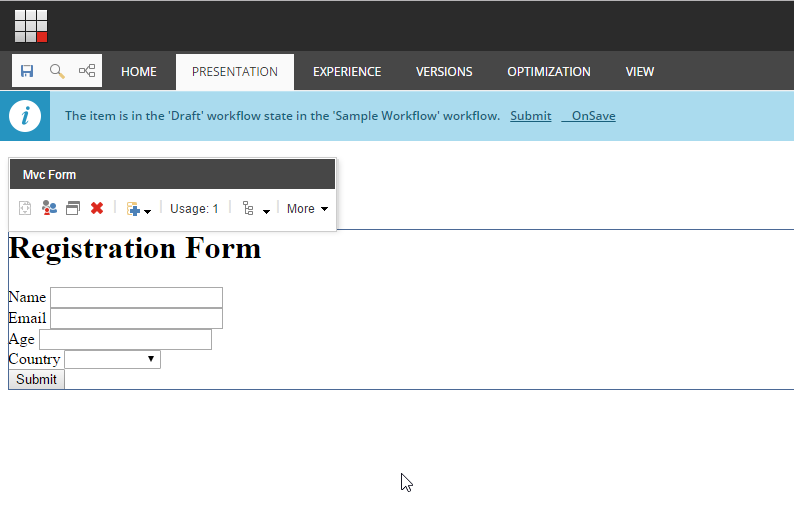
The form is added to the page: