Add a style for a rendering
SXA comes with preset styles for renderings. However, sometimes you may want to add your own custom styles. For example, you want some of the images on your site to appear without margins or if you want to add a background color to a rendering.
To add a class item for a rendering in the Content Editor:
-
Go to the site's Presentation folder.
-
Right-click Styles, click Insert, and then click Style to add a new style.
-
Enter the name and click OK.
NoteMake sure that your new style has a name that helps other users to understand what it does.
-
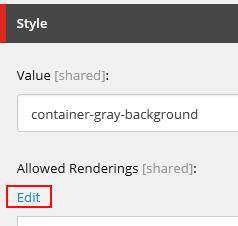
To make the new style available for the rendering, in the Style section, click Edit.
-
In the Select items dialog, click the relevant rendering, click the right arrow
 to move it to the list of selected items and click OK. For this example, the grey background is made available for the Container and splitter renderings.
-
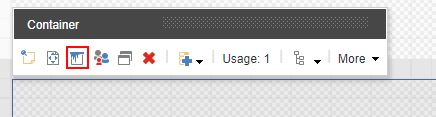
To see your new style, in the Experience Editor, click edit the style.
-
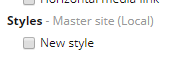
In the Styles section, you can now select the new style.
-
Click OK to apply the new style to the rendering.