Set or remove a focal point
Feature availability is part of a phased rollout. Your organization might not see this functionality yet. It will become available when your environment is included in the rollout. In the meantime, use the Media Library.
A focal point is a specific location in an image that you consider important. It's meant to draw the viewer's attention or highlight a key feature.
Focal points are persistent, and they automatically adjust cropping around themselves to maintain visibility of essential product features, for example, in website banners of varying aspect ratios. You can set a single focal point per image, defined by X and Y coordinates.
A focal point is used when you crop an image, which you can do when you add an image in the SitecoreAI Page Builder. To do this, in the Add media dialog, click the image thumbnail to set a focal point, in the Width and Height fields set the dimensions you want, and then click Lock  .
.
When you access the Media page from the Content menu in the navigation bar, setting a focal point sets default values. You cannot crop an image in this case.
Set a focal point
To set a focal point:
-
On the menu bar, click Content >
 Media.
 -
On the Media page, click the image you want to set the focal point for.
If
 Focal point is greyed out, there is no focal point set on the image.
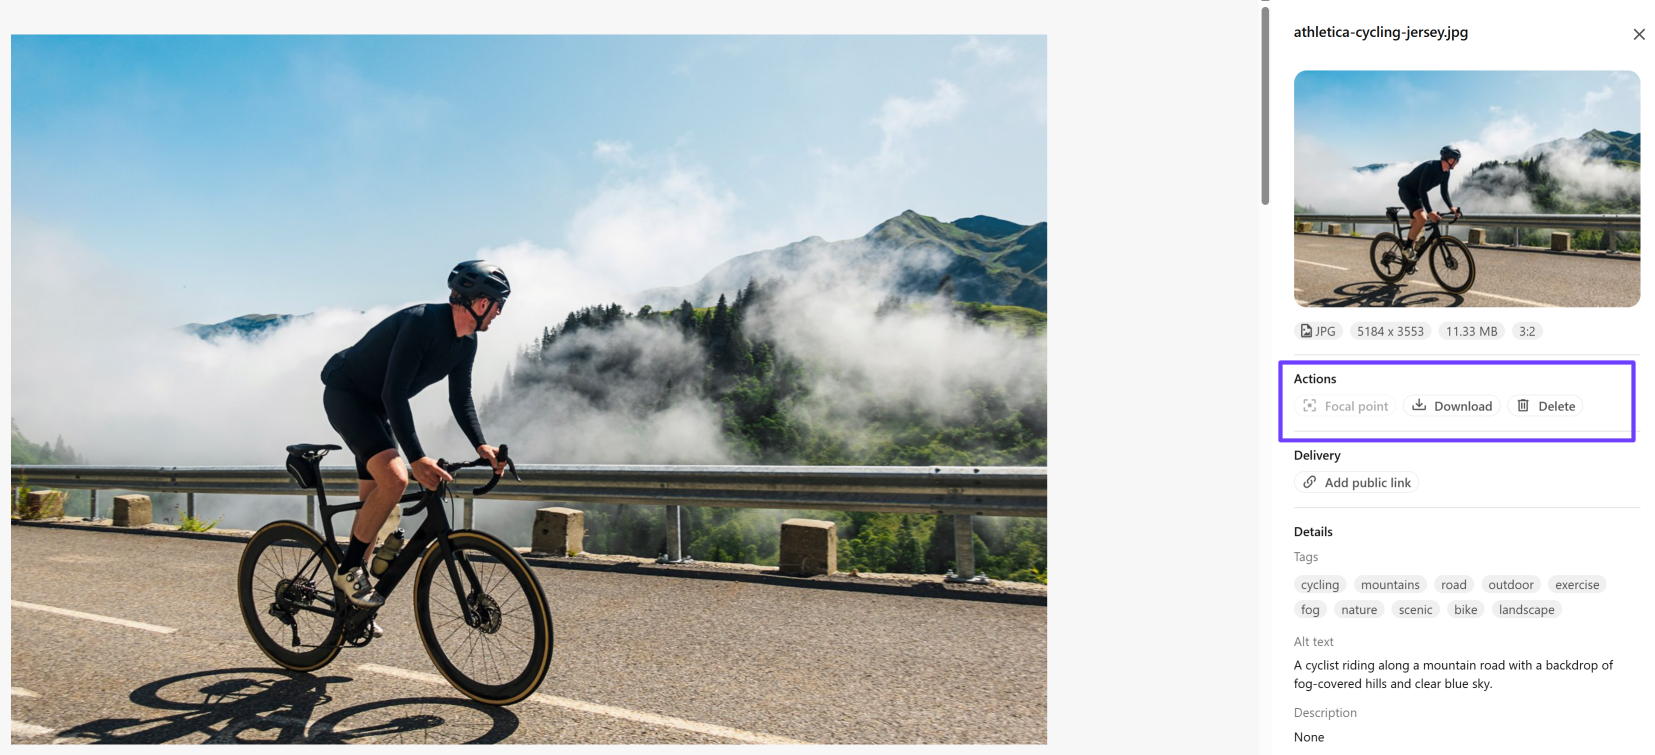
-
In the media details dialog, hover your cursor
 over the left image at the location for the focal point and click. The coordinates are updated next to Focal point.
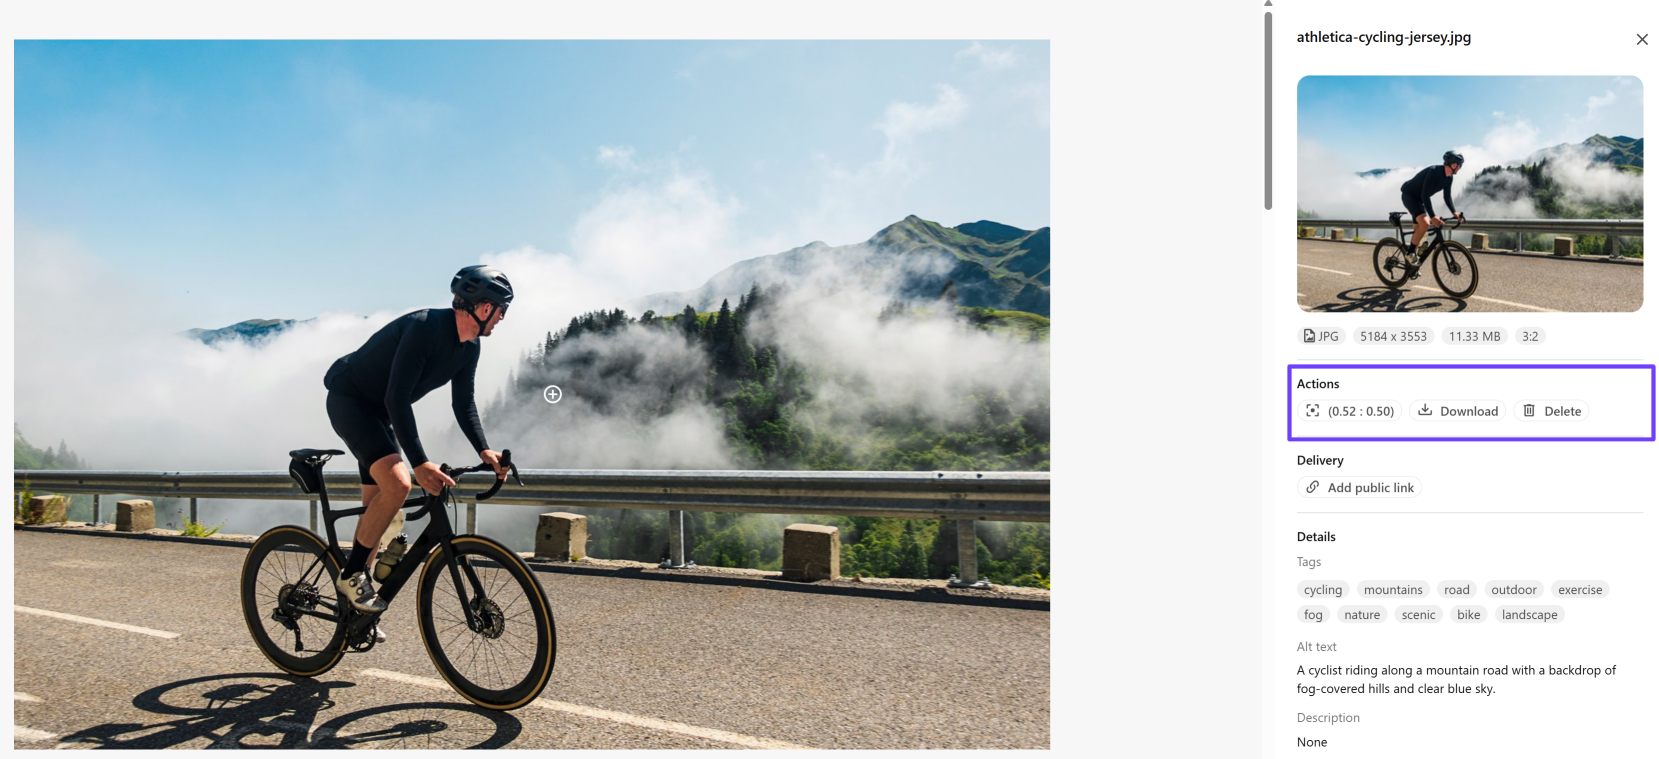
To update a focal point, hover the cursor over the image location for the new focal point and click. In the Update focal point dialog, click Update to confirm the change.
Remove a focal point
To remove a focal point:
-
On the menu bar, click Content >
Media. -
On the Media page, click the image to open the details dialog.
-
In the Actions section, click Focal point.
-
To confirm the deletion, click Remove.