Upload a media file
Feature availability is part of a phased rollout. Your organization might not see this functionality yet. It will become available when your environment is included in the rollout. In the meantime, use the Media Library.
Adding images to your website pages improves the visual interest of content and conveys information more clearly. When you upload a media file, it is added to the Media page as a media item and assigned a unique ID, which cannot be changed. You can also upload documents, such as .pdf files, as well as audio (.mp3 and .wav) and video files (.mp4 and .webm).
Using AI, relevant and consistent metadata is automatically added to images when a file is uploaded. This reduces the manual effort needed to add metadata giving you draft text that you can edit as required. When media items have descriptive alt text and relevant metadata, they are easier to find and are more accessible.
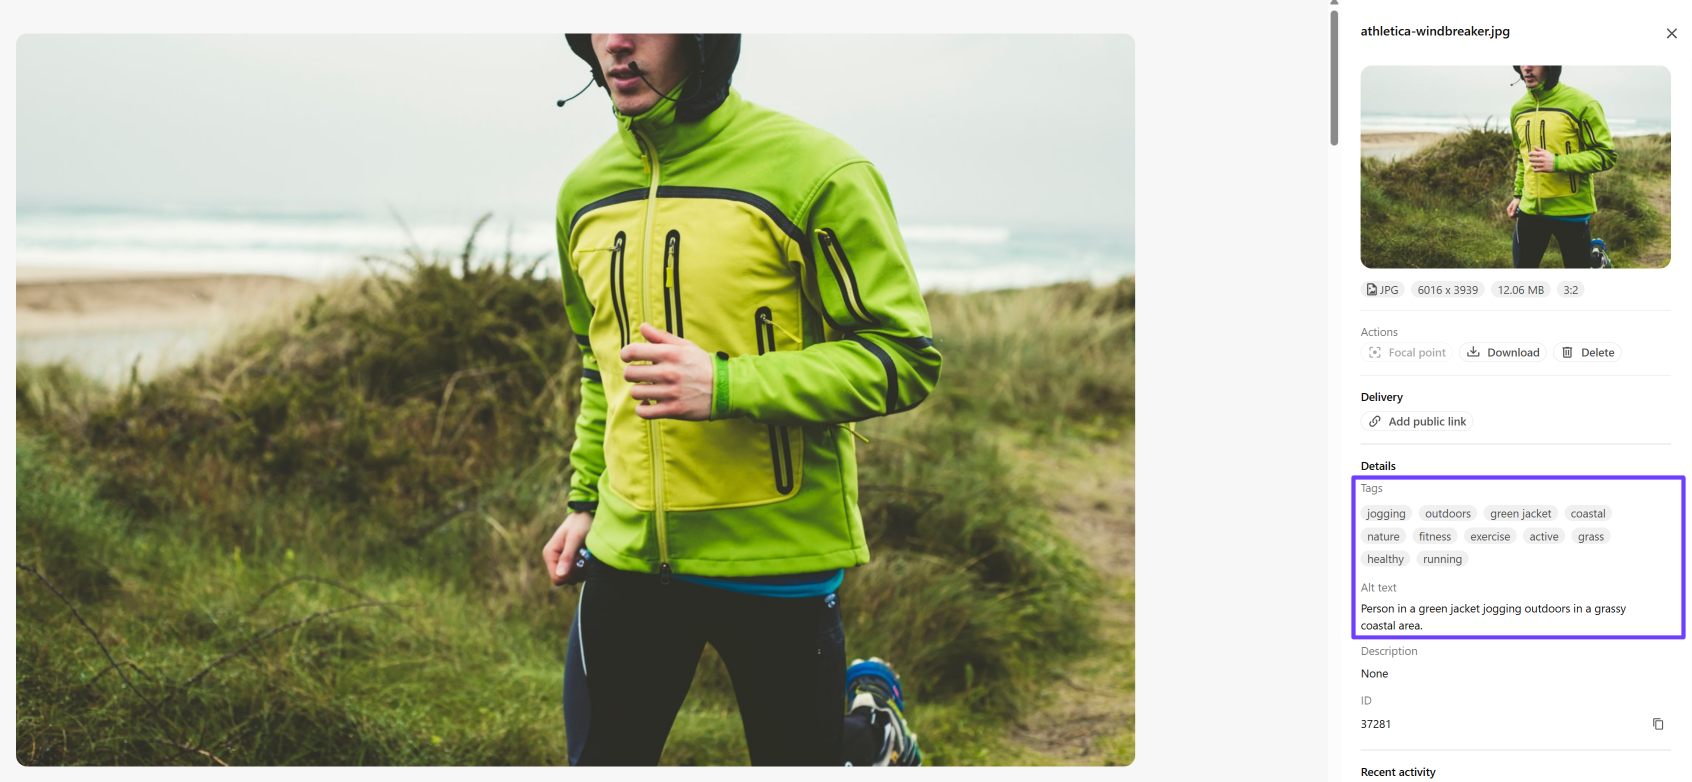
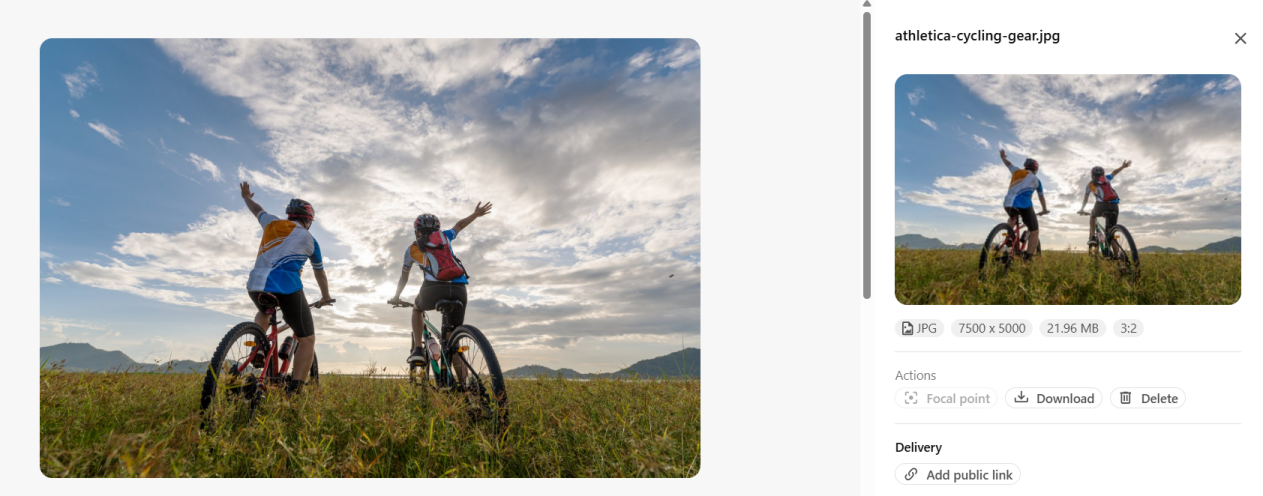
Click any media item on the Media page to open the details dialog and see:
-
The media item ID, generated alt text and tags.
-
An image thumbnail for .
jpeg, .png, .gif, .web, and .svgfiles if they are less than 70MB. -
A full page preview, such as the one shown in the following image, for .
bmp, .jpeg, .jpg, .png, .gif, .webp, .avifimages, for vectors (.svg), documents (.pdf), audio files (.mp3, .wav), and video (.mp4, .webm).
Automatic metadata enrichment on upload is not available for videos, audio files, or PDFs and is not configurable. You can, however, add tags manually. To do so, on the Media page, click a media item to open the details dialog. In the right pane, in the Details section, click in the Tags field, type the new tag and press Enter.
All file formats are supported with the exception of: .exe, .bat, .com, .cmd, .msi, .pdb, .vb, .vbs, .ws, .wsf, .scr, .pif, .jar, .reg.
To upload a media file and create a media item:
-
On the menu bar, click Content >
 Media.
 -
On the Media page, click
 Upload, select the media files you want to upload, and click Open. Alternatively, drag the media files you want to upload onto the Media page.
 -
In the Upload files dialog, do any of the following:
-
To change the media item name, click in the Name field next to the thumbnail and make your changes.
-
To remove a media item from the upload, next to the media item you want to remove, click Delete
 .
.
-
-
When you are done, click Upload files.
-
If you want to make the media item available immediately, you can create a public link for it.